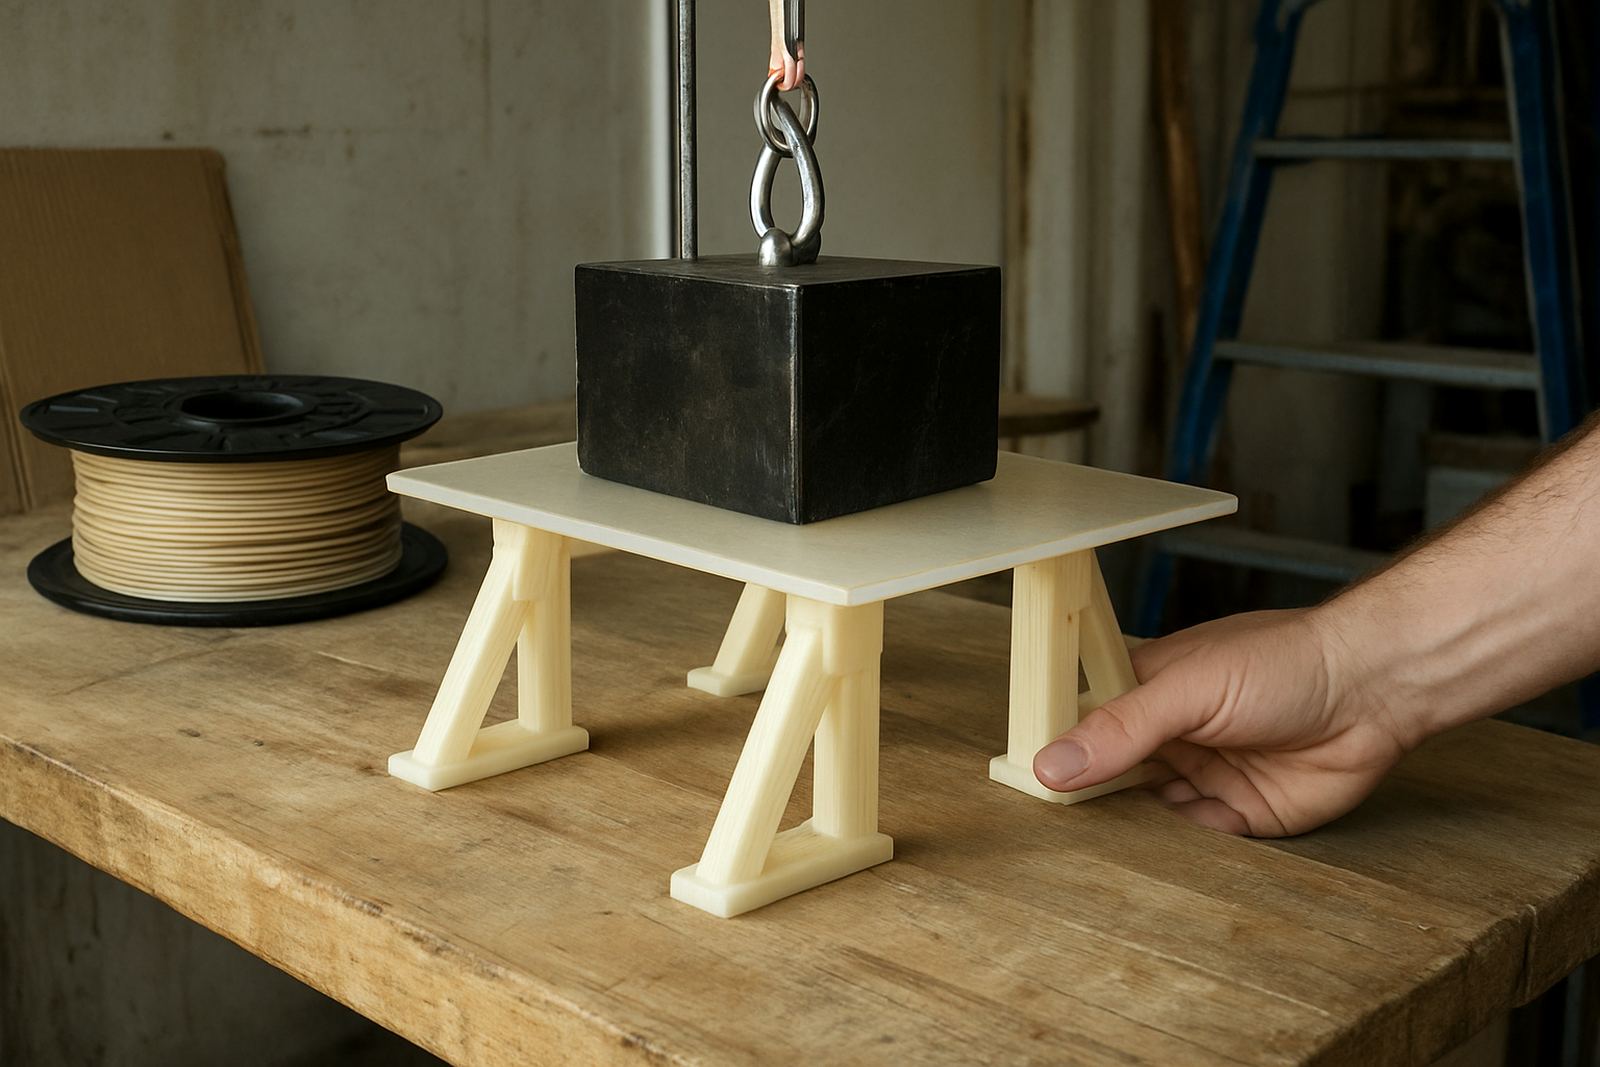
Start with the load, not the shape
Before you open a CAD file, work out what the part must do. A bracket that only holds a cable tray is very different from a clip that gets pulled open every day, and a workshop fixture needs to take repeated clamping without creeping. PETG does well where you need toughness and a bit of flex, but the part still has to be sized for the actual load, not just the available space.
For stronger results, keep the load path simple. Long thin arms, sharp inside corners and sudden changes in section all create weak points. If the part will be screwed down, build in a proper boss or pad around the fixing point. If it will clip on and off, plan a wider base and a controlled flex zone so the same area is not bending every time. In humid coastal areas like Cape Town, parts may also be exposed to damp air, dust and temperature swings in a store room or workshop, so give yourself a bit more material than you would for a light indoor item.
- Check the real load, not just the estimated weight
- Avoid sharp internal corners where stress builds up
- Use thicker fixing zones around screws and bolts
- Allow for repeated flex if the part is a clip or latch
Choose wall thickness and infill for the job
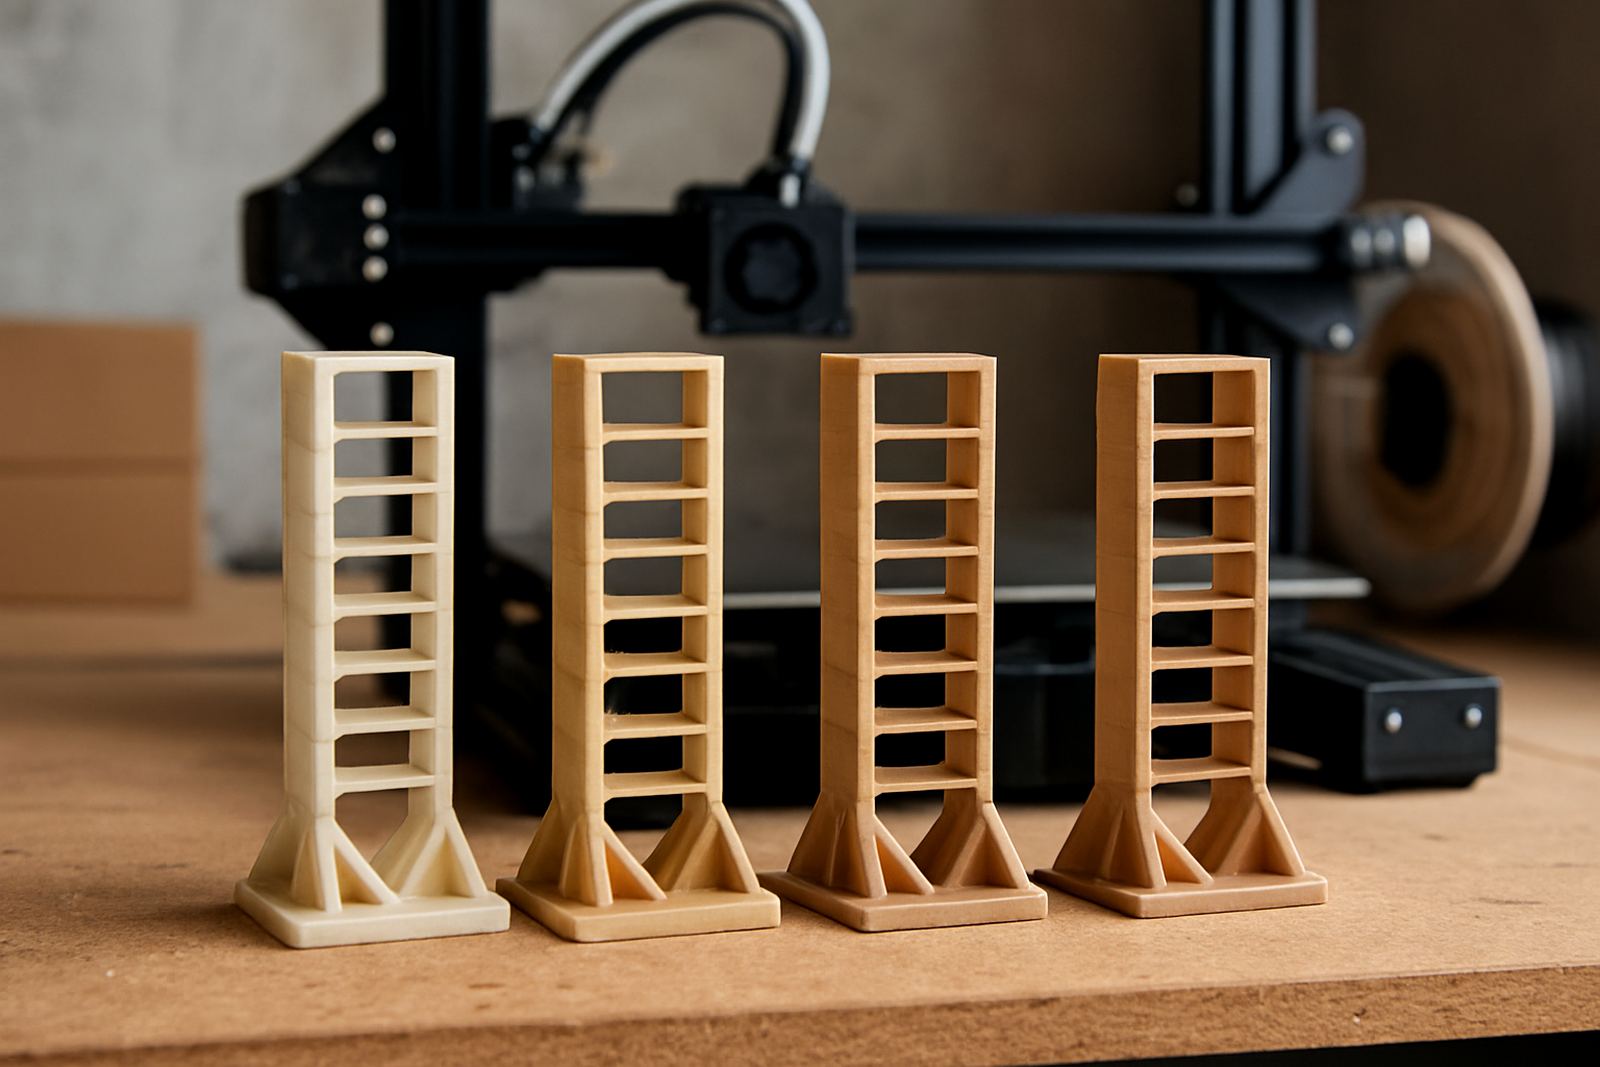
For PETG, strength usually comes more from walls than infill. A part with thin perimeters and heavy infill can still fail at the shell, especially at the layer lines. For brackets and fixtures, start with 3 to 5 perimeters on most printers and increase wall thickness before you push infill too high. Many parts are better at 25% to 40% infill with a sensible pattern than at 80% infill with weak outer walls.
If the item is small but must be tough, consider making it slightly larger and using more solid walls rather than squeezing it into a thin profile. For large batch cutting of sheet parts, the same thinking applies: extra width around mounting holes and clip ends often adds more life than adding random bulk elsewhere. Also keep in mind that PETG can print a little stringy if the settings are off, so a cleaner shell helps the finished piece look and perform better.
- Use more walls before chasing very high infill
- Thicken only the areas that take the load
- Keep clip arms uniform so they flex evenly
- For sheet parts, add material around fasteners and corners
Set the slice so the part works in service
Orientation matters. Put the main load across the layer lines where possible, not along them. A bracket printed flat may look neat, but if the weight pulls the layers apart it will fail earlier than a part printed on its side with proper support. That said, orientation also changes finish and support marks, so there is a balance between strength and cleanup.
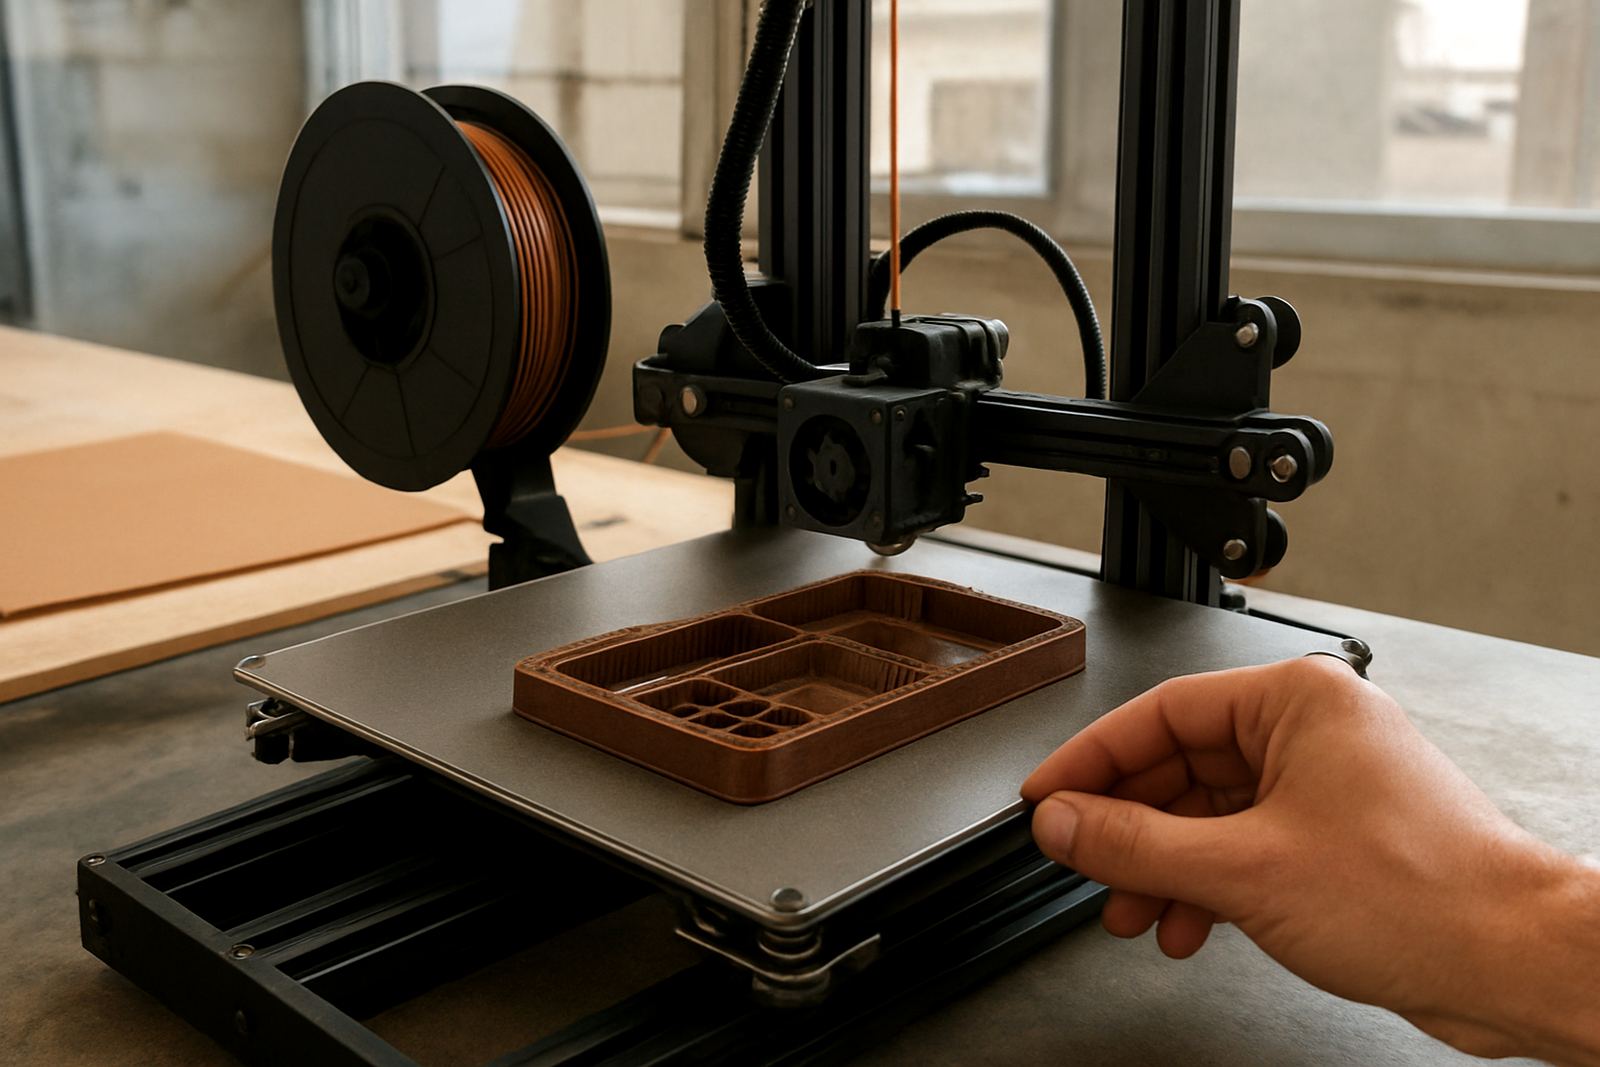
For workshop fixtures and jigs, use enough top and bottom layers to stop compression through the skin. Slow down the outer walls a bit if you need more accurate fit. Keep nozzle temperature in the recommended range for the material and machine, because under-extrusion gives weak bonding while overheating can make fine details droop. In many South African workshops, load-shedding means machines may stop mid job, so a stable first layer and a clean restart plan help reduce scrap.
- Orient the part so the load does not split the layers
- Use sufficient top and bottom layers for solid faces
- Slow outer walls for better fit on holes and clips
- Keep extrusion even to avoid brittle sections
Design clips and snap fits that last
Clips are where many PETG parts fail because the flex is concentrated in one spot. The best snap fit spreads that bend over a longer arm and avoids a hard stop at the end of travel. Add a small lead-in chamfer, a wider root and a gentle return curve where possible. If the clip must open often, test it in the first version and adjust the angle before producing a full batch.
For stronger clip parts, use a smooth transition from thick base to thinner flex arm. A clip with a sharp neck or a tiny notch can crack after a few uses, especially if it gets knocked in a busy store room or on site. If the part will sit in the sun or near warm equipment, keep the clip slightly looser rather than forcing a tight fit, because heat can make tolerances shift a touch over time.
- Make the flex arm longer before making it thinner
- Add a lead-in so the clip does not slam into the catch
- Round off the base where the bending starts
- Test repeated openings before committing to volume
Use sheet parts for fixtures, guards and panel work
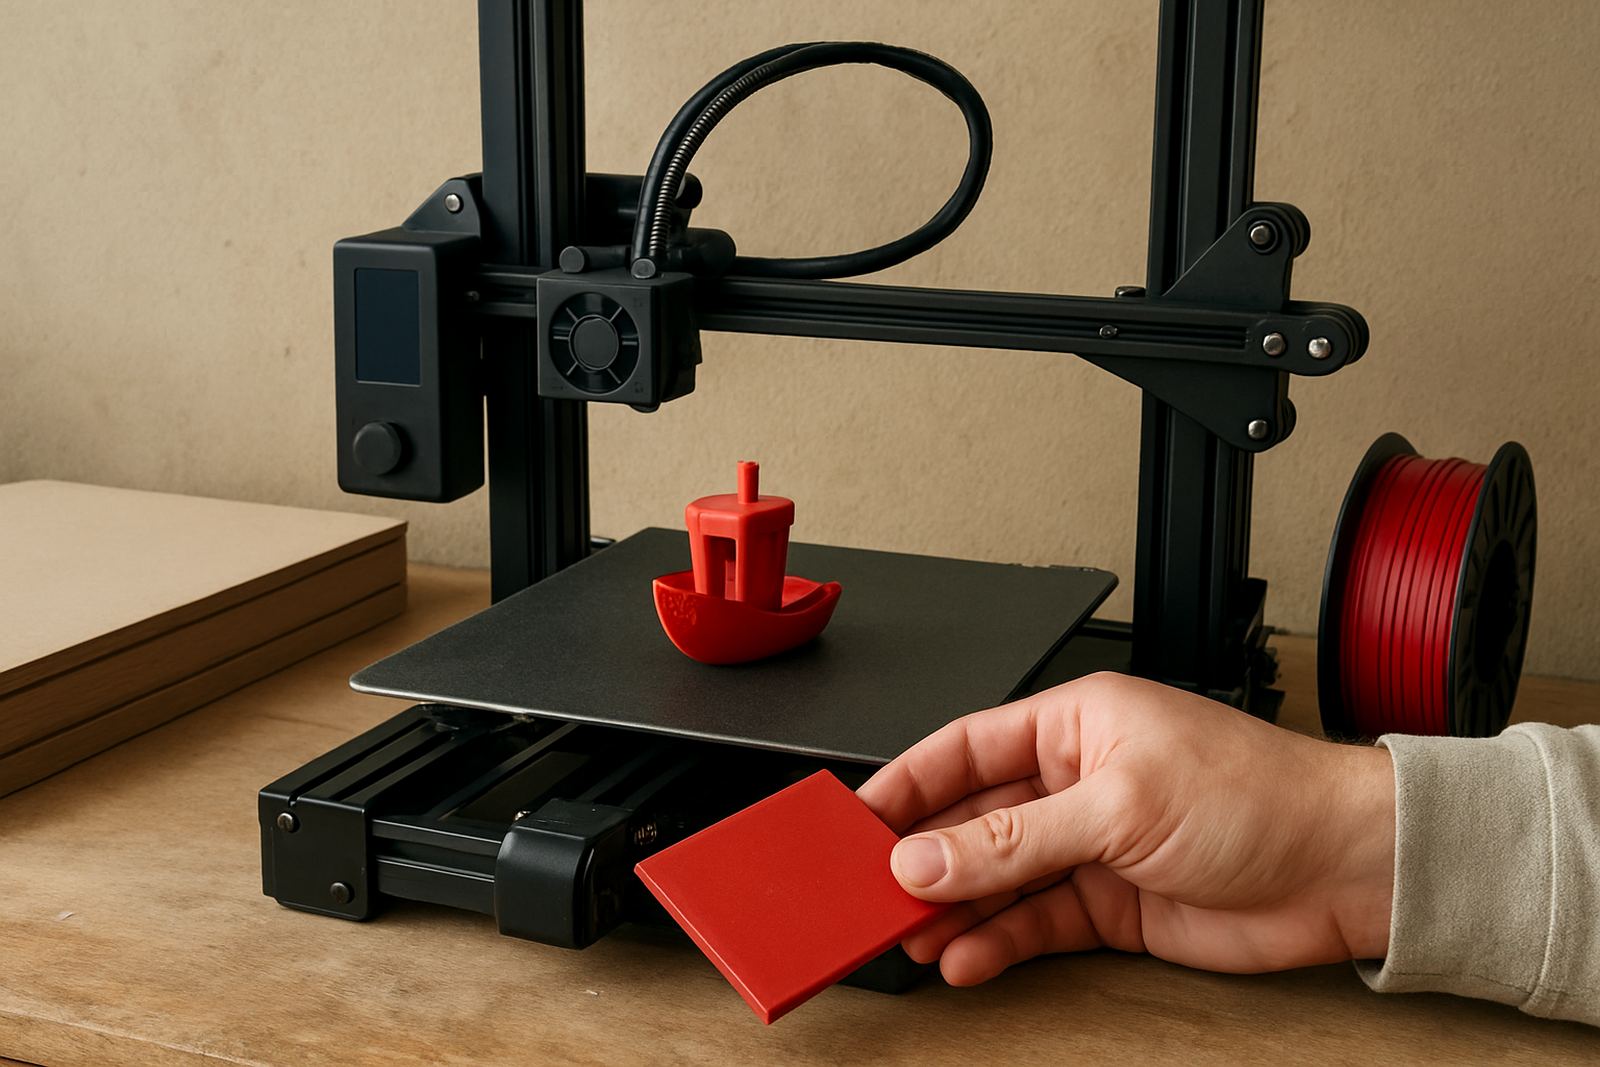
Some jobs are better done in sheet than in filament. PETG sheet is useful for guards, covers, face plates and simple workshop fixtures where you need flatness, neat edges and predictable size. For cut to size jobs, accurate measurements matter because a panel that is 2 mm off can throw out a whole assembly or leave an awkward gap around a machine opening.
When a sheet part must sit near tools, conveyors or shelving, think about edge finish and fixing method. Hole marking helps keep mounting points aligned, while edge deburring reduces stress at the corners and gives a cleaner hand feel. If the sheet will be delivered to a site in Gauteng, the Winelands or along the coast, ask for courier packing that protects the corners, because chipped edges are usually what cause trouble after transit.
- Use sheet for flat guards, panels and clear covers
- Mark holes before drilling or assembly
- Deburr edges to reduce cracks starting at the corners
- Specify film left on when you want the surface protected
Final checks before you place the order
A stronger PETG part is usually the result of small decisions made early. Check the part dimensions, wall thickness, fixing points and the direction of the load. If the part is for a workshop, make sure it can be handled with gloves and still fitted properly. If it is going to a site with municipal or safety requirements, keep the edges neat and the mounting points consistent so the item installs without surprises.
Before sending the job through, go through the practical points one last time: size, quantity, finish and delivery method. If you need one-off test pieces, small batch cutting is the safest way to confirm fit before a larger run. For repeat orders, label each job clearly so the right parts go to the right branch or site, and courier packing should be chosen for the final route. It saves time, and it avoids the back and forth that often slows down a project. Small detail, big diffrence.
- Confirm dimensions and tolerance before cutting or printing
- Match the fixing method to the load and the surface
- Choose test pieces first for clips and tight fits
- Use clear job labelling for repeat orders and multiple sites