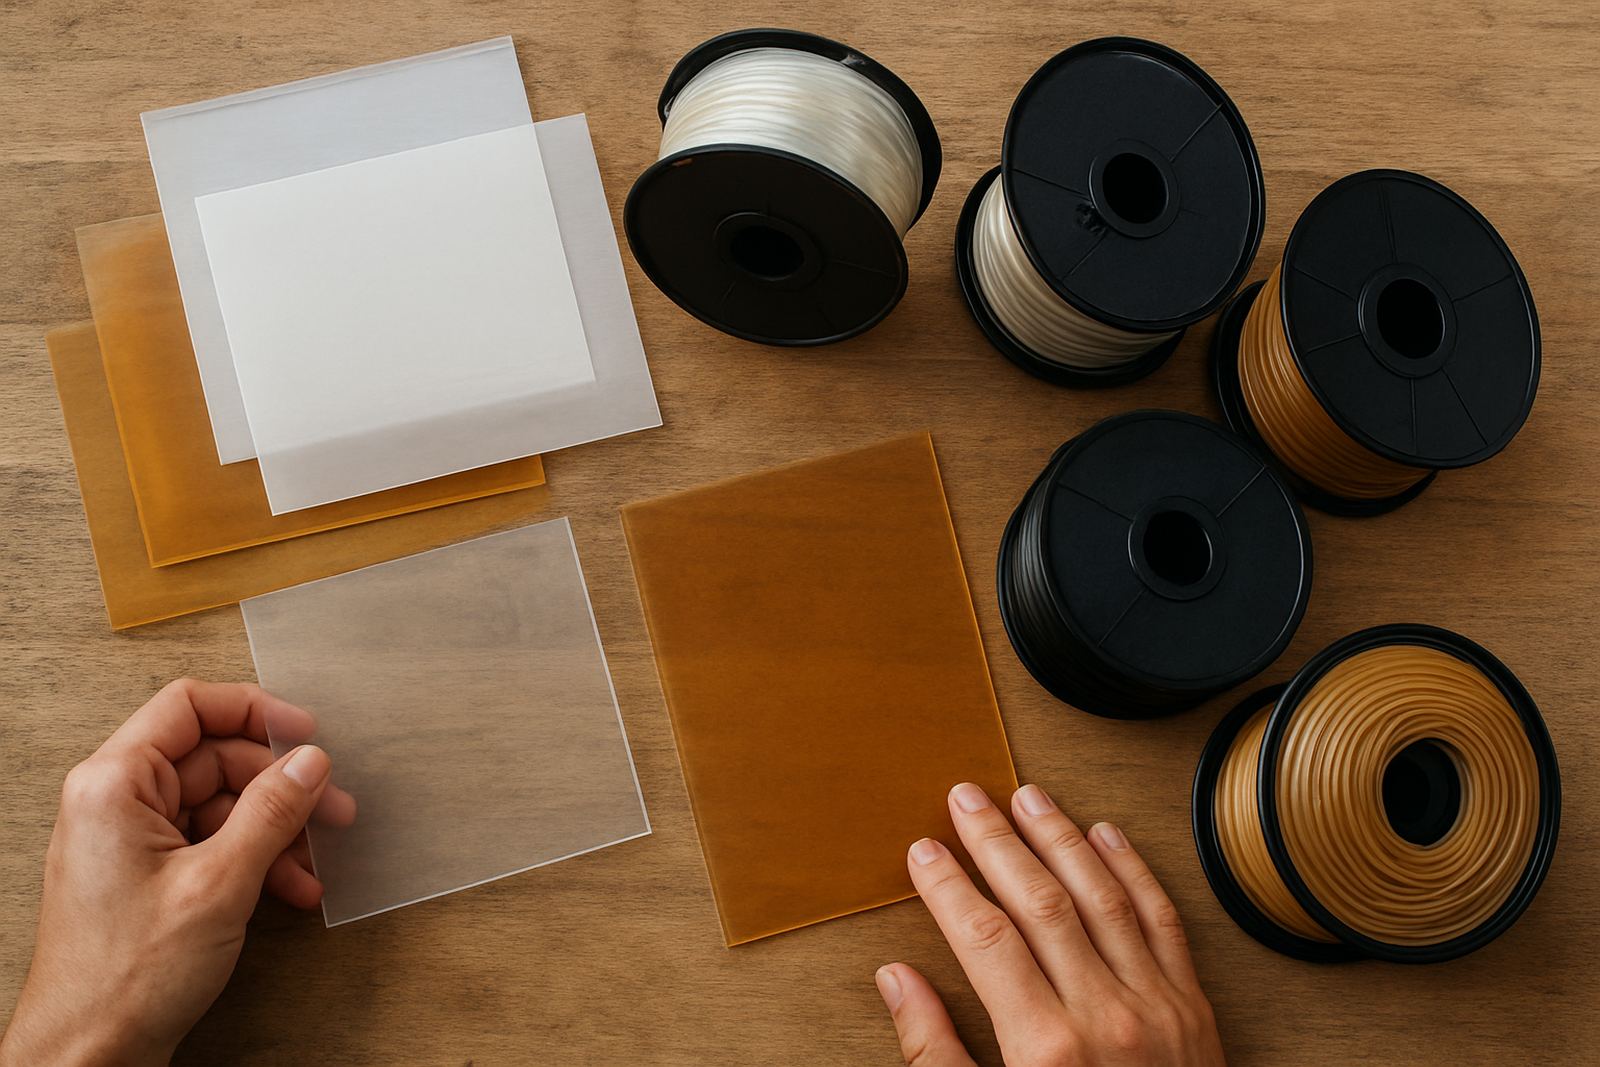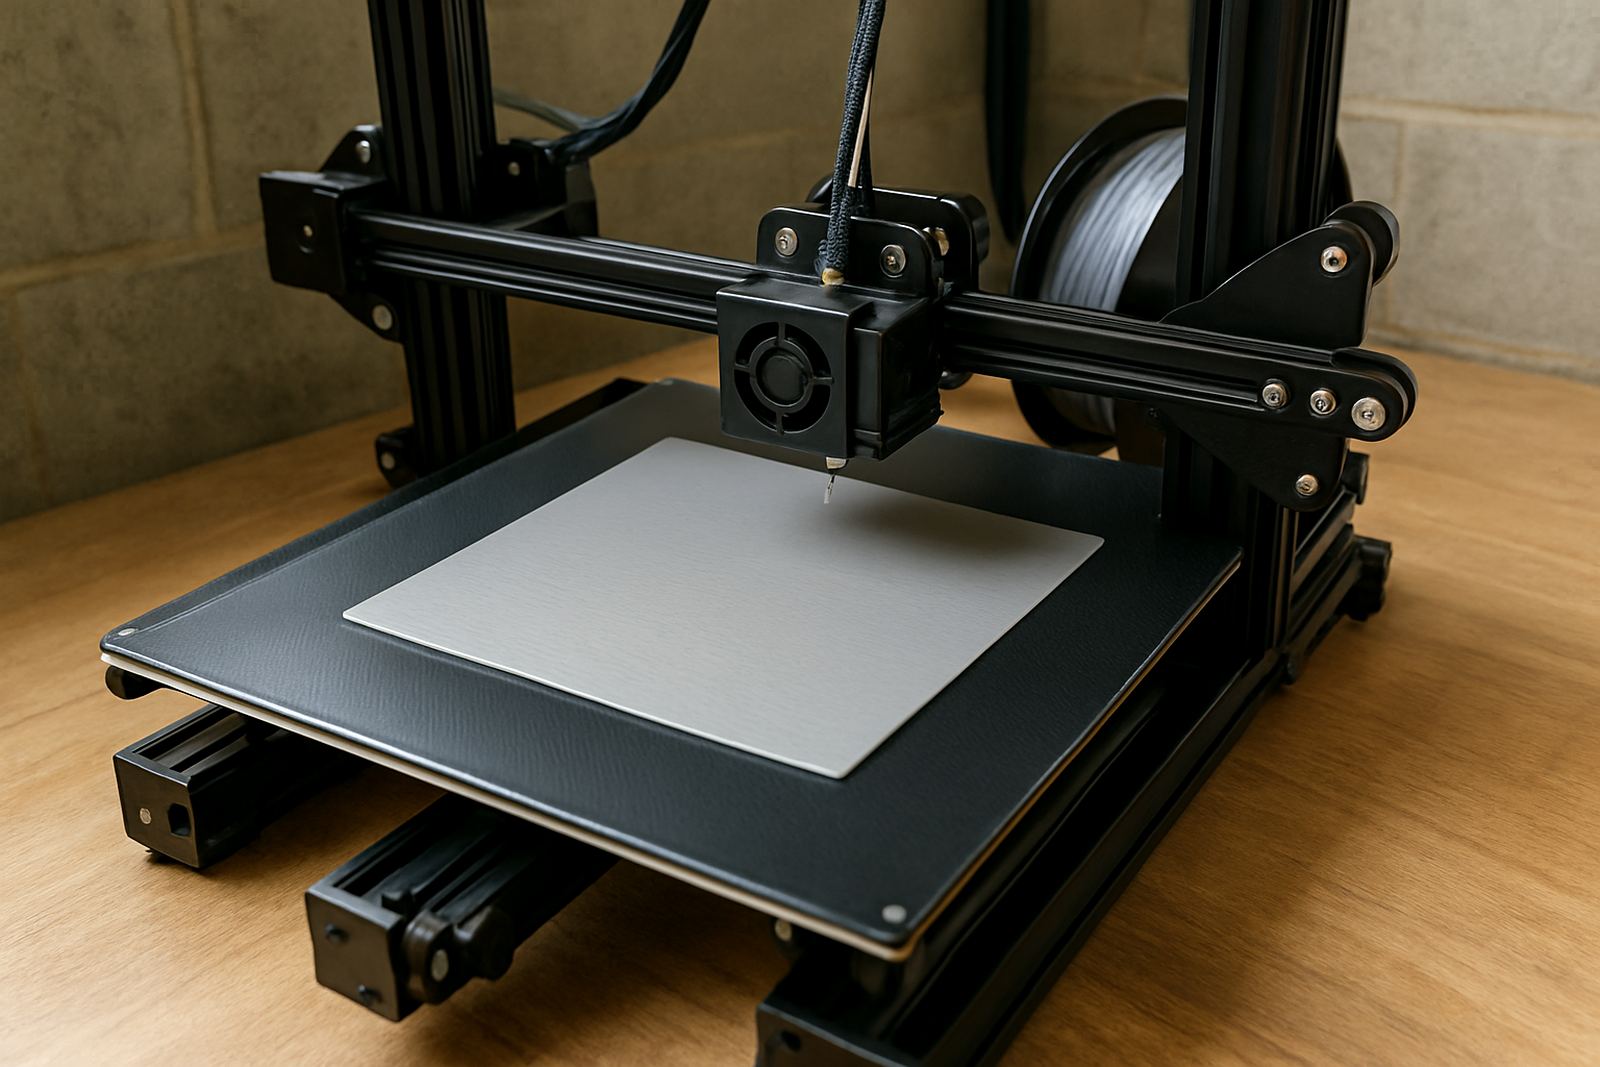

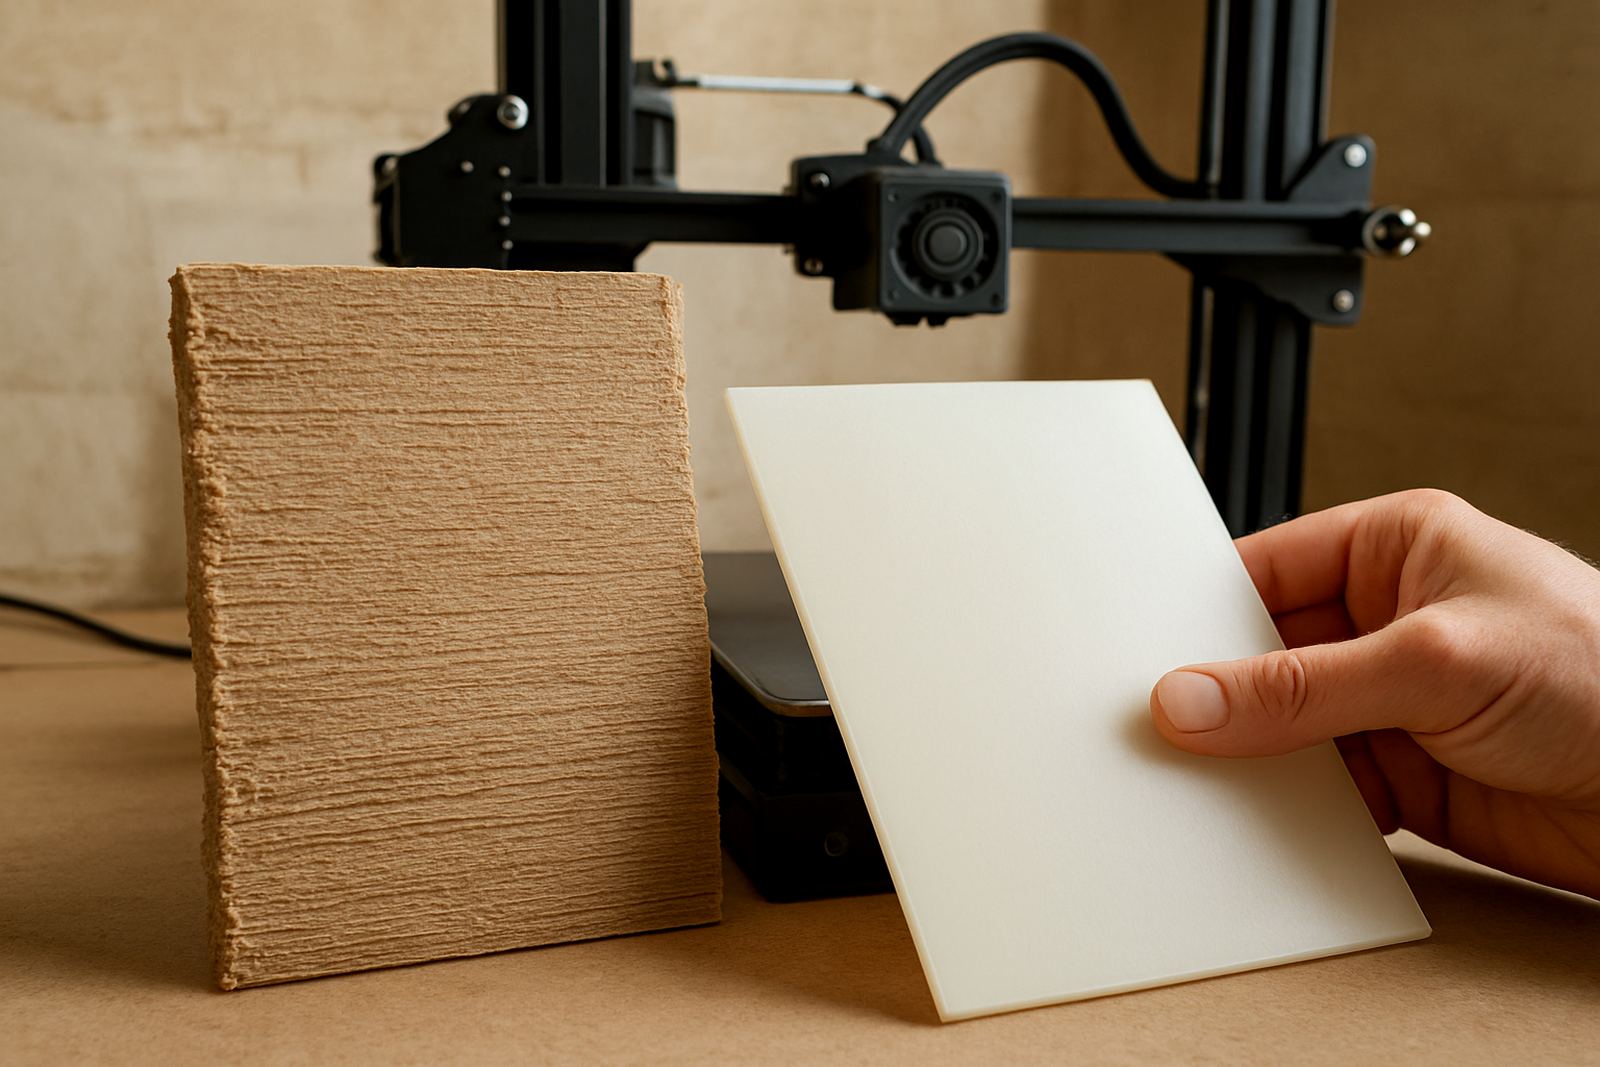
What wet PETG looks like on the first few layers
The earliest warning is often not a failed part, but a print that behaves differently from usual. Wet PETG can sound rough coming through the nozzle, with tiny pops or crackles as trapped moisture turns to steam inside the hot end. The extrusion may also look uneven, with little bubbles or a dull finish instead of the clean gloss PETG is known for.
On the build plate, the first layers may lay down poorly even when your bed levelling is right. If the material is taking up water, the nozzle can push out a line that looks foamy or slightly swollen, then leaves gaps where the plastic should be solid. That is when many people think the printer is at fault, but the filament is often the real issue.
Common print faults that point to moisture
Once the print gets going, wet filament starts to show a pattern. The part may still finish, but it will usually be weaker, messier, and harder to trust for any functional use. PETG is known for toughness, so when it starts behaving badly the change is usually noticeable.
- Popping or sizzling at the nozzle: a clear sign that water inside the filament is flashing into steam.
- Stringing between features: fine hairs or webs become more common when the material is damp.
- Rough or blistered surfaces: the walls can look pitted, with tiny holes or bubbles.
- Weak layer bonding: parts split more easily along the layer lines.
- Inconsistent flow: extrusion seems to surge, then drop off again.
- Cloudy or matte finish: the colour may look less clear than normal.
If you are printing brackets, covers or display parts, those faults matter. A piece can look acceptable at a glance yet fail under a light load, which is not ideal when you need the part to last.
Why PETG picks up moisture in Cape Town and beyond
South African storage conditions matter more than many people think. Along the coast, humidity can creep into open filament packs and unsealed tubs very quickly, especially in Cape Town during wetter months. Even in drier inland areas, a spool left exposed in a workshop over a weekend can absorb enough moisture to change the print behaviour.
Load-shedding can make the problem worse if your drying setup or storage cabinet is not sealed properly. When the power comes and goes, warmer air can move through the storage area and leave condensation on cooler surfaces. A spool that looked fine on Friday morning may show signs of damp by Monday if it sat in a garage, storeroom or near a roller door.
For customers collecting from Epping or arranging courier delivery nationwide, the same rule applies: keep the filament sealed until you are ready to use it. Moisture does not need flooding or visible dampness to cause trouble. Sometimes a few days in the wrong place is enough.
How to tell wet filament from a printer setting problem
It is easy to blame temperature, retraction or speed when a print starts to misbehave. Those settings do matter, but moisture has its own signs. The difference is usually in the sound, surface finish and consistency from layer to layer.
Try a quick check before changing too many settings:
- Listen for crackling or tiny pops at the nozzle.
- Inspect the spool for a dull surface or chalky look.
- Print a short test piece and compare the walls to a known dry spool.
- Check whether stringing is present across multiple temperature settings.
- Look for tiny bubbles in clear or translucent PETG.
If the issue stays the same after reducing speed, lowering temperature slightly, or adjusting retraction, moisture is likely part of the problem. A printer fault tends to repeat in a more predictable way, while wet filament often gives a mix of symptoms at once.
What to do when your filament is already wet
Once PETG has taken on moisture, the best fix is controlled drying and better storage. The aim is to remove absorbed water without deforming the spool or making the filament brittle. A proper filament dryer is ideal, but a carefully managed drying setup can also help if the temperature stays within a safe range for the material.
After drying, store the spool in a sealed container with fresh desiccant. If the workshop is busy, label the spool with the drying date so staff know when it was last treated. For production jobs, that small habit saves time and reduces scrap.
Practical steps:
- Dry only within a suitable PETG temperature range.
- Keep the spool off dusty floors and away from open doors.
- Seal it immediately after printing if the rest of the spool will be stored.
- Use airtight tubs or bags with desiccant packs.
- Rotate stock so older spools are used first.
If you are printing for a client in Somerset West, Bellville or Stellenbosch, it is worth checking the filament before a long run. A six-hour print can turn into scrap very quickly if the material was damp from the start.
When to replace a spool and ask for material advice
Some spools recover well after drying, while others have been exposed for so long that print quality never fully returns. If you keep seeing bubbles, rough surfaces and weak layers after a proper drying cycle, the filament may have reached a point where replacement is the safer choice. That is especially true for parts that must fit accurately or carry load.
For sheet work and filament supply in Cape Town, the practical approach is to treat moisture as part of the workflow, not an afterthought. Store materials properly, inspect them before use, and plan around the local climate. A little discipline here saves a lot of wasted time later.
When in doubt, ask for material advice before starting a job. The right storage method, print temperature and handling routine can make the difference between a clean result and a batch of rejects. For production teams, that matters as much as the machine itself.
A simple local check before your next print run
If you are running jobs from Epping, or sending filament to a workshop elsewhere in South Africa, use this quick check before a serious print:
- Open the sealed pack only when the spool is needed.
- Sniff for a musty or damp storage smell.
- Watch the first minute of extrusion closely.
- Listen for steam-like crackles at the nozzle.
- Compare the finish against a spool known to be dry.
That short routine can catch the problem early. It is a simple habit, but in a humid coastal area it can prevent warped surfaces, weak layers and wasted hours. If the filament sounds wrong, looks wrong and prints wrong, moisture is usually part of the story.