
Why PETG needs a different surface mindset
PETG sits between easy-going PLA and more demanding engineering plastics. It can bond too well to some smooth surfaces, and too weakly to worn or dusty ones, so the print bed setup matters as much as nozzle temperature and cooling. In Cape Town, where coastal humidity can creep into storage and dust can build up quickly in a workshop, a surface that gives repeatable results is worth planning for.
The aim is not only to keep the part down during the print. You also want controlled release once the bed cools, so corners do not chip and the part does not take a bit of the sheet with it. For longer jobs or larger panels, a small change in surface choice can save a full reprint.
Smooth sheet, textured sheet, or taped bed
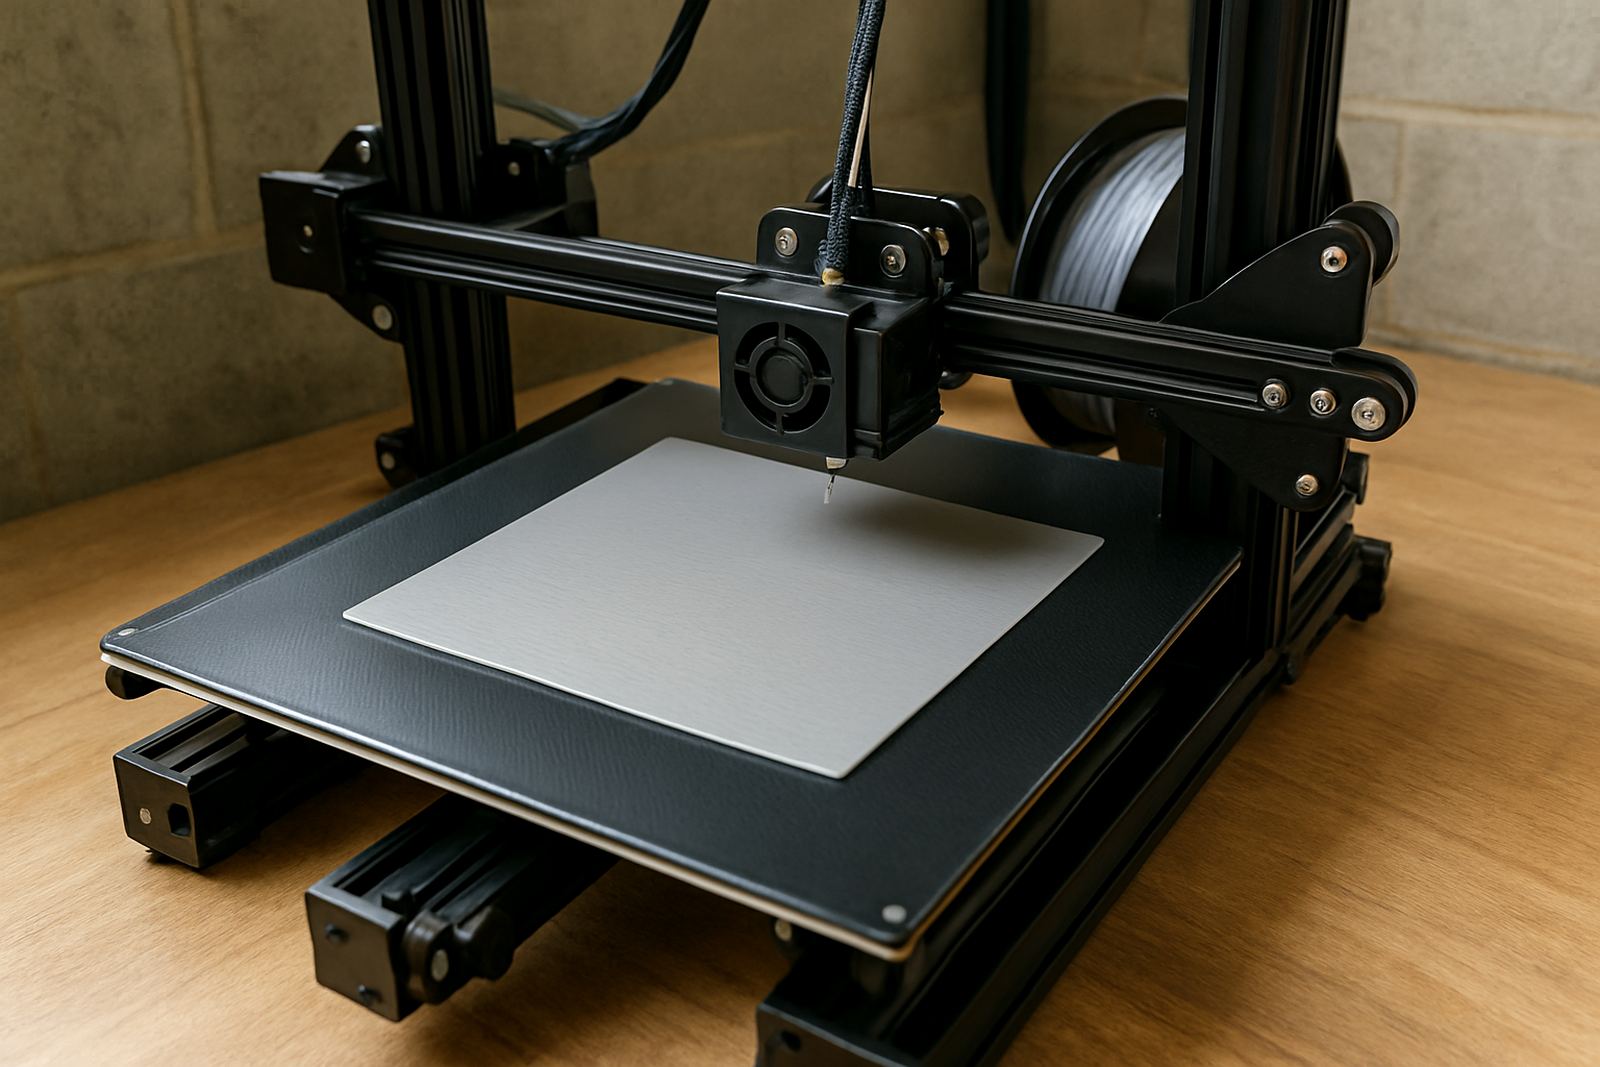
A smooth surface gives a clean underside and is handy when appearance matters. It works well for covers, housings and smaller visual parts, but with PETG it can grip hard if the first layer is too hot or if a strong adhesive is used. A lightly textured surface often gives a safer balance, especially for larger footprints or parts with sharp corners.
Some users still rely on tape or temporary coatings for special jobs. That can be useful for quick tests or awkward geometries, but it is not always the best answer for repeat production. When running a batch of brackets for a fabrication shop in Bellville or decorative panels for a fit-out crew in Somerset West, consistency matters more than experimenting on every part.
- Smooth surface: best for neat bottoms and smaller prints
- Textured surface: better release and less chance of over-bonding
- Temporary tape or coating: useful for trials, not ideal for steady production
Adhesion helpers and first-layer control
PETG usually does not need aggressive glue, but it does need a bed that is clean and correctly set up. A finger print, dust or residue from a previous job can create a weak patch and the first layer may lift there first. If a helper layer is needed, keep it light. Too much adhesive can transfer to the print and make the underside messy.
First-layer height is just as important. If the nozzle is too close, PETG can smear and weld onto the surface. If it is too high, the line will not squash enough and the edges can curl. A well-tuned first layer should look slightly flattened, with no ridges or gaps, and it should still peel away without a fight once the bed cools.
- Clean the surface before each run with a suitable wipe-down method
- Use only a light adhesion aid if needed
- Set first-layer height carefully before starting long prints
- Watch the first 10 minutes of the job rather than hoping for the best
When release matters more than grip
Not every PETG part should stick as hard as possible. If you are printing a batch of covers, channels or test fixtures, the easier it is to remove the parts cleanly, the better your turnaround. This is especially true on larger beds where the middle cools differently from the edges and the part can lock down unevenly.
In a local example, a small engineering team in Epping may be running a set of clip-on guards for machine enclosures before a maintenance shutdown. They need enough grip for an overnight print, but they also need the parts off the bed quickly the next morning so assembly can continue. In that case, a surface that lets the bed cool and release naturally is often better than chasing the strongest possible adhesion.
Surface choice for cut sheets and custom jobs
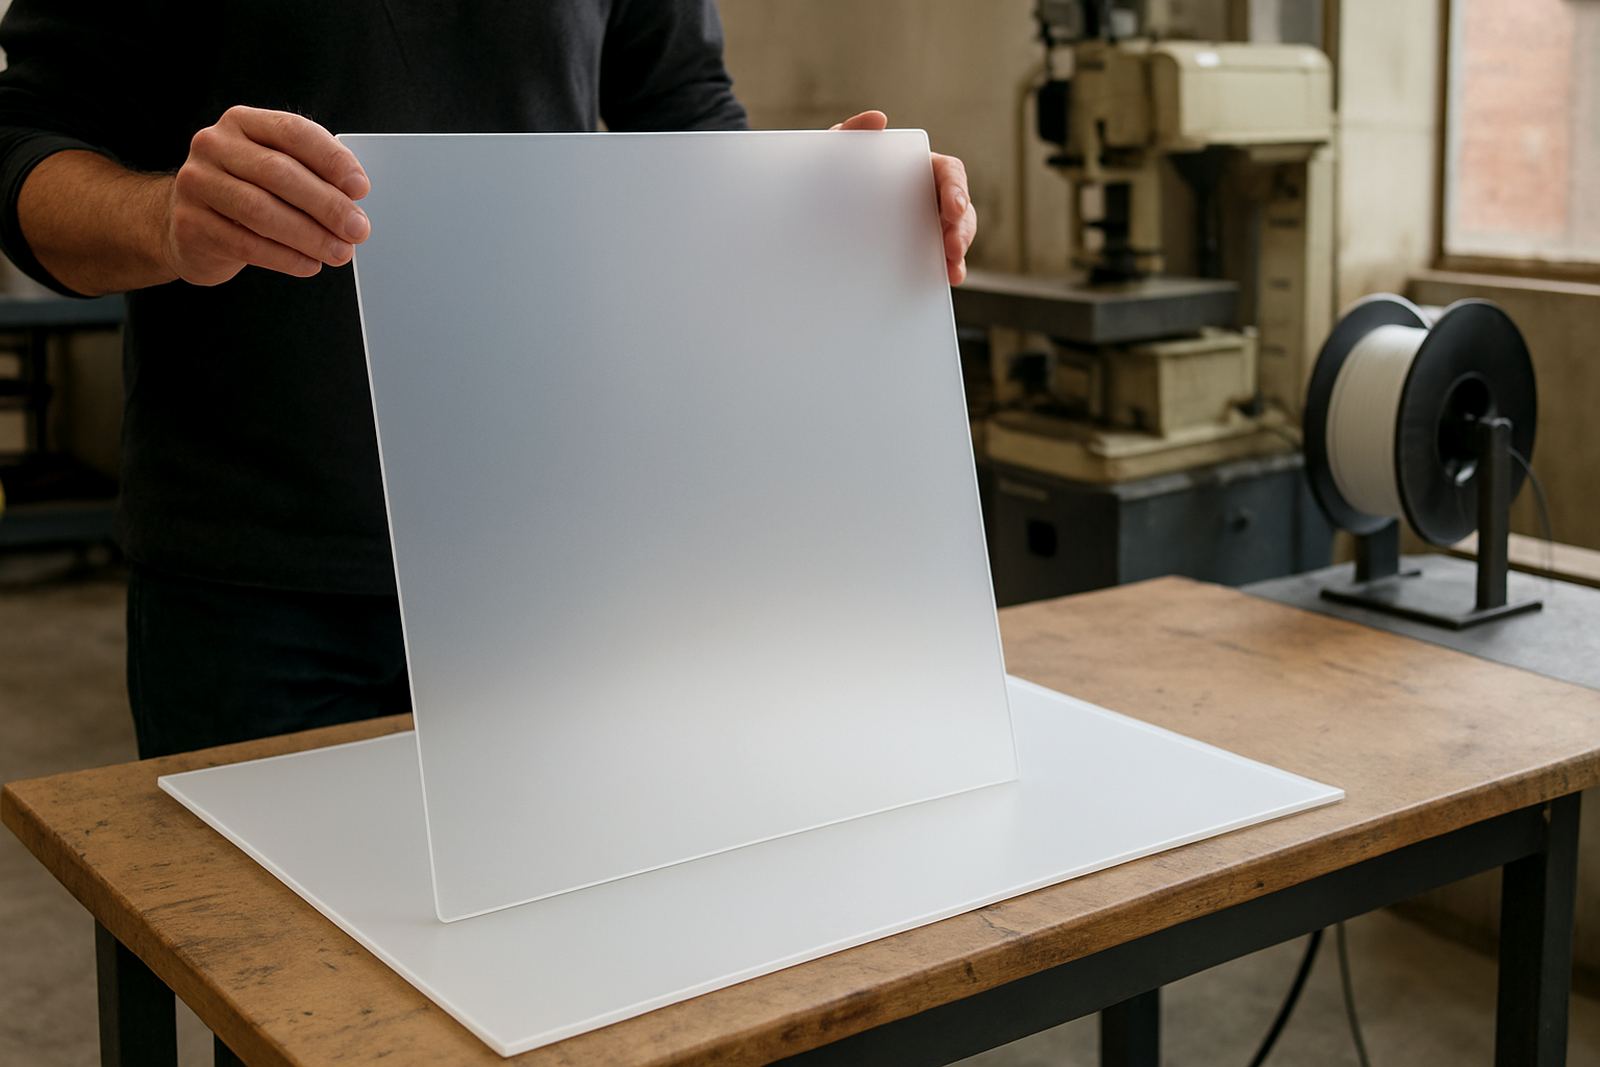
When PETG sheets are cut to size for fabrication, packaging, signage or protective panels, the edge finish and hole marking are part of the job, but the surface selection still affects how the material behaves in use. A sheet that will be handled often may need a finish that resists scratches and cleans easily. For prototyping or display work, a smoother finish may be preferred where the underside will show through.
For workshops that order custom sizes, it helps to specify how the sheet will be used from the start. A panel for a humid coastal site near False Bay may need different handling from a dry indoor fit-out in Paarl. If the application includes heat, vibration or regular cleaning, that should be mentioned on the enquiry form so the right advice can be given before the material is cut.
- Tell the supplier how the part will be used
- Say whether the finish is for display, protection or engineering use
- Ask for hole marking or strip cutting where the layout needs it
- Use film left on when the surface must stay protected during transport or installation
Keeping results consistent across batches
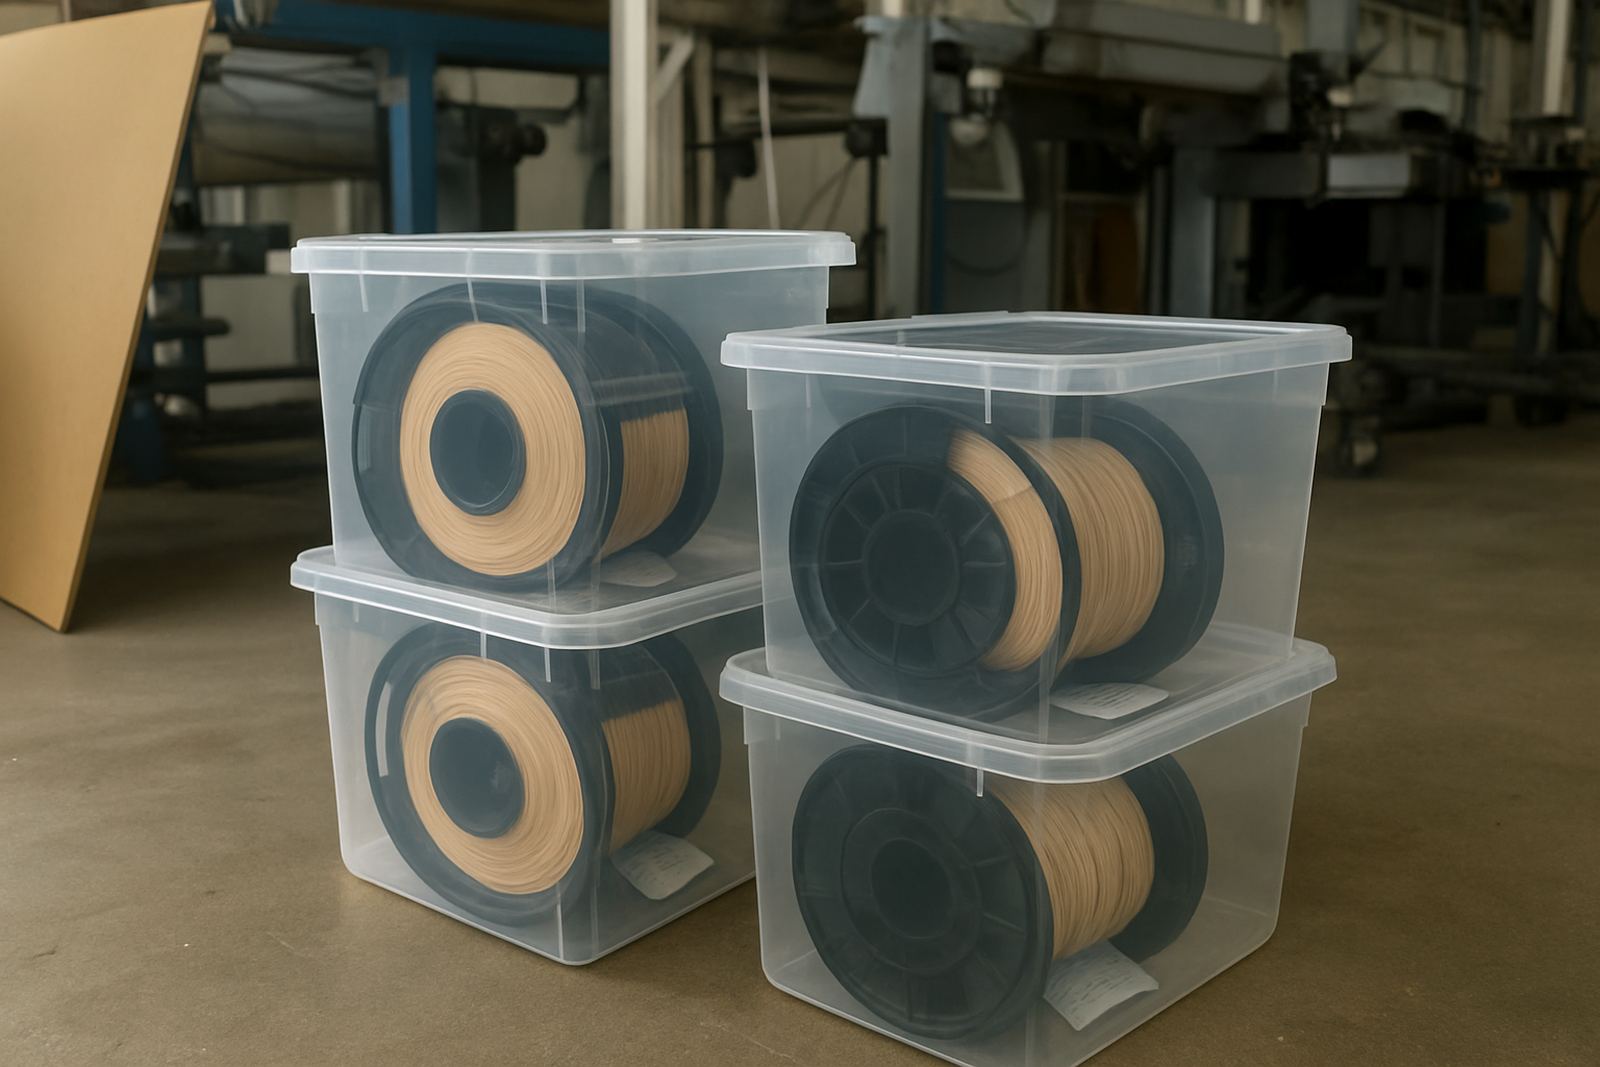
Once a print surface works, keep it that way. Rotate sheets if they show wear, store them flat, and keep them away from dust and oily hands. In South African conditions, load-shedding can interrupt a print midway, so a stable surface is useful when you restart a job after a power cut. If the bed cools and heats again, a worn surface will show its weak spots faster.
For small batch cutting and repeat production, good job labelling and courier packing also matter. When a sheet or filament order is going out to another town, clear notes on size, finish and handling reduce confusion on the receiving end. That saves time for the maker and the installer, whether the job is going to Claremont, Stellenbosch or further afield.
A practical starting point for PETG users
If you are unsure where to begin, start with the least aggressive surface that still gives dependable grip. Test one setting at a time, not three at once. That way you can see whether the issue is surface, temperature or cooling. Many print problems get blamed on the bed when the real cause is a fast fan, over-extrusion or a nozzle that is not levelled properly.
For most users, the best setup is the one that gives a clean first layer, steady adhesion during the print, and simple removal once the bed has cooled. That is the balance to aim for whether you are printing one prototype or a full batch of parts for dispatch. If the choice is made with the end use in mind, PETG behaves well and the results are easier to repeat.