
Start with the final opening, not the off-cut you have in hand
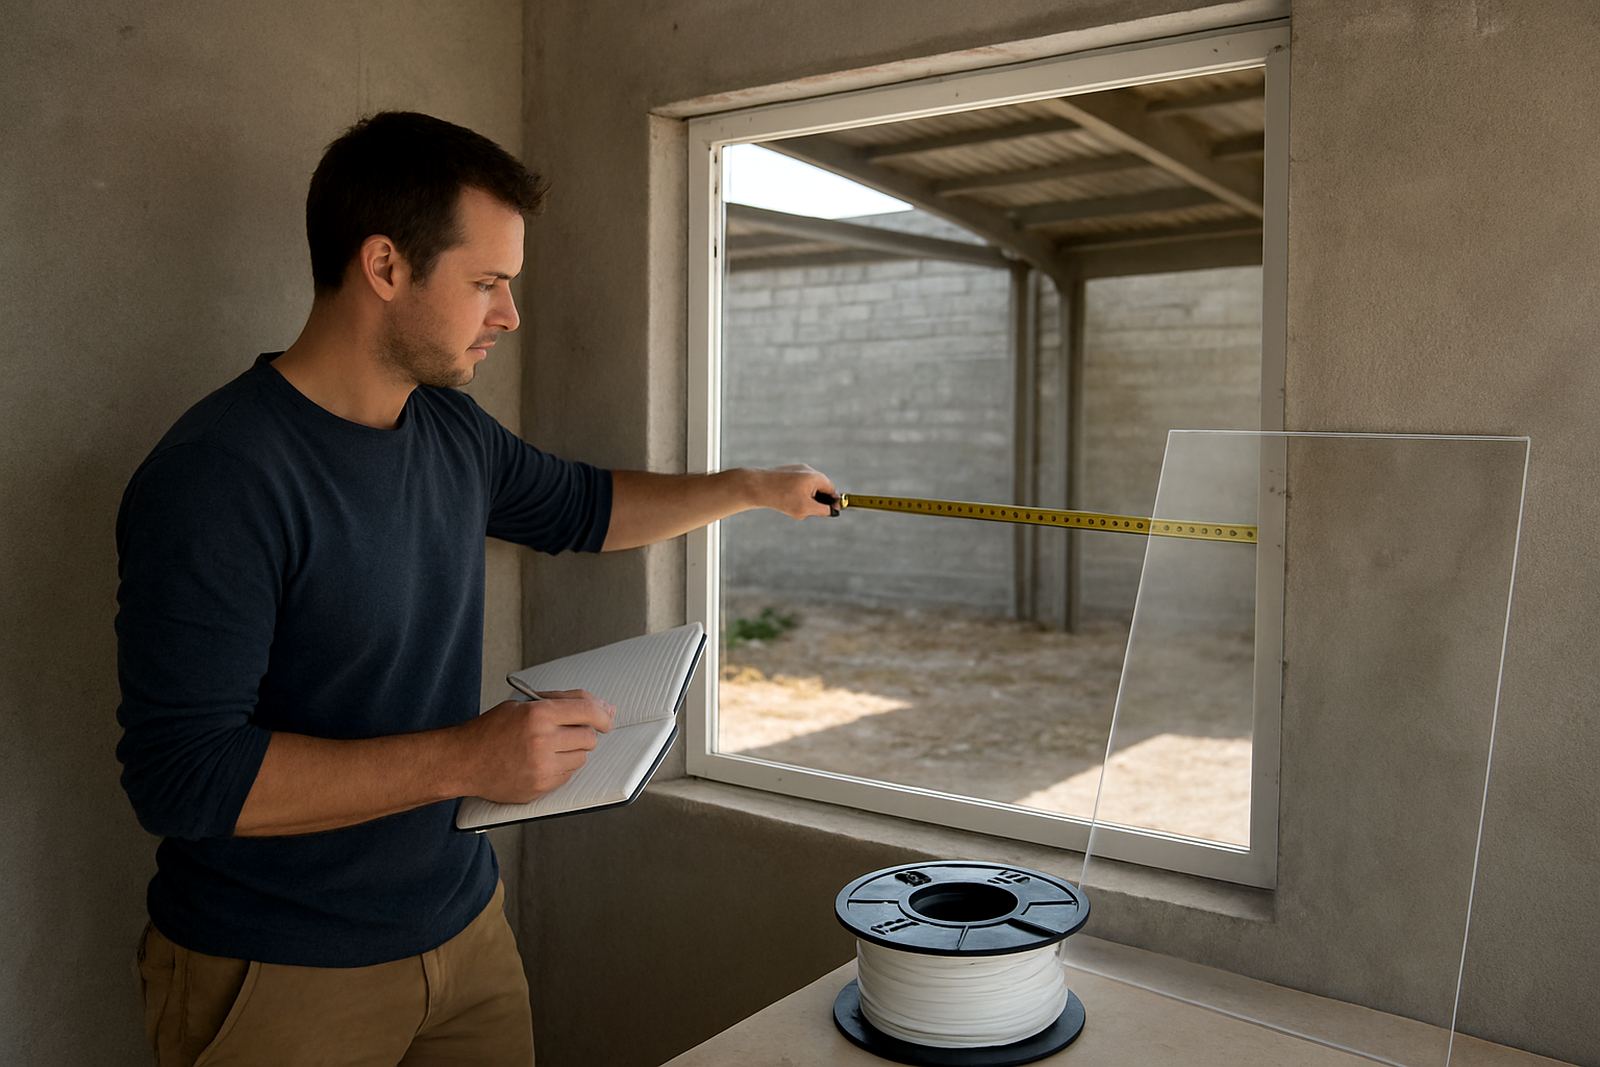
When you need a PETG sheet cut to size, begin by measuring the finished opening or the space the sheet must cover. Use a steel tape or ruler, not a flexible tailor tape, and measure in millimetres. If the panel must fit inside a frame, recess or clamping groove, measure the internal opening at more than one point because walls, cabinets and machine housings are not always square.
Write down the exact width and height, then note whether the sheet sits inside, on top of, or behind the structure. That small detail changes the final cut. If you are replacing a damaged panel in a workshop in Epping or fitting a cover on site in Somerset West, a 2 mm difference can make the job frustrating. Measure twice, then compare both readings before you send them through the enquiry form.
Allow for fit, fixing and edge treatment
Not every order should be cut exactly to the opening size. If the sheet needs to slide into a channel, allow a little clearance for easy fitting and for any slight swelling, racking or uneven walls. For edge-fixed panels, the final measurements may stay closer to the opening, but you still need to consider screw holes, clips, sealant and edge finishing.
- Allow extra space where the sheet must slot into tracks or grooves
- Check whether a protective film must stay on during installation
- Note if holes need to be marked before cutting
- Ask for edge deburring where hands will touch the panel often
If you are not sure, say so in the enquiry. A short note like “front cover, inside fit, 1 mm clearance each side” helps the cutting team prepare the job properly. It also reduces back-and-forth and keeps the order moving through production without delays.
Measure each dimension separately and record the units
For rectangular sheets, list width first and height second, then add thickness. For circular, angled or stepped shapes, break the panel into simple sections and note every line clearly. If you only send a rough photo without dimensions, the person pricing the cut still has to guess the details. That slows things down and increases the chance of a mistake.
Keep every dimension in millimetres. Avoid mixing centimetres and metres in the same note. If the sheet will be couriered nationwide from Cape Town, the packing team also needs to know the final panel size so it can be boxed properly. On larger jobs, especially for manufacturing or display work, it helps to number the pieces one by one so the labels match the measurements.
- Width, height and thickness in millimetres
- Quantity required for each size
- Any angles, cut-outs or holes
- Whether the job is one-off or a small batch
Take account of the real conditions where the sheet will be used
PETG is often chosen because it handles day-to-day use well, but the final fit still depends on the environment. In coastal areas such as Cape Town and Strand, humidity and salt air can affect adjoining materials, seals and fixings. In hotter inland spaces, expansion around tight fittings can matter too. If the panel sits near machinery, displays or a fabrication area, tell the supplier what it will face.
That context helps with material advice and with how the sheet is prepared. A cover for a retail display in Claremont may need a neater edge finish, while a workshop guard in Bellville might need hole marking and a tougher fixing pattern. If the order is for a prototype, say whether it must be checked once before a full batch is cut. Clear use notes mean fewer corrections later.
Use a simple sketch when the shape is not plain
A quick sketch can be more useful than a long explanation. Draw the shape from above, label each side, and mark holes, corners, slots or cut-outs. Even a hand sketch on paper works if the numbers are clear. Add arrows for the top edge and front face so there is no confusion during cutting or courier packing.
For irregular sheets, a photo next to a tape measure is helpful, but it should support the sketch, not replace it. If the shape is mirrored or handed, write that down as well. For example, if the left and right pieces are different, say so plainly. Small clarifications save time for everyone, and they keep the order accurate through cutting, labelling and dispatch.
- Draw the outline and mark all sides
- Show hole positions from a fixed edge
- Label the top, front and back
- Note if the shape must be mirrored or repeated
Send the order in a way the cutting team can action quickly
Once you have the measurements, send them through the enquiry form with a short description of the job, the quantity, the delivery or collection area, and any special instructions. If you need collection from Epping, Montague Gardens, Bellville, Parow, Somerset West, Paarl, Stellenbosch or Claremont, mention it upfront. If the order is going by courier, include the delivery town and whether the parcel needs extra packing.
For load-shedding days or busy production periods, clear information matters even more because the team has to plan cutting and packing around the work queue. When the numbers are clean and the brief is complete, straight cuts, strip cutting, panel cutting and small batch work can move ahead with less delay. It is a simple process, but precision at the start makes the finished sheet easier to install and far less likely to need rework.