Why PETG suits prototype enclosure work
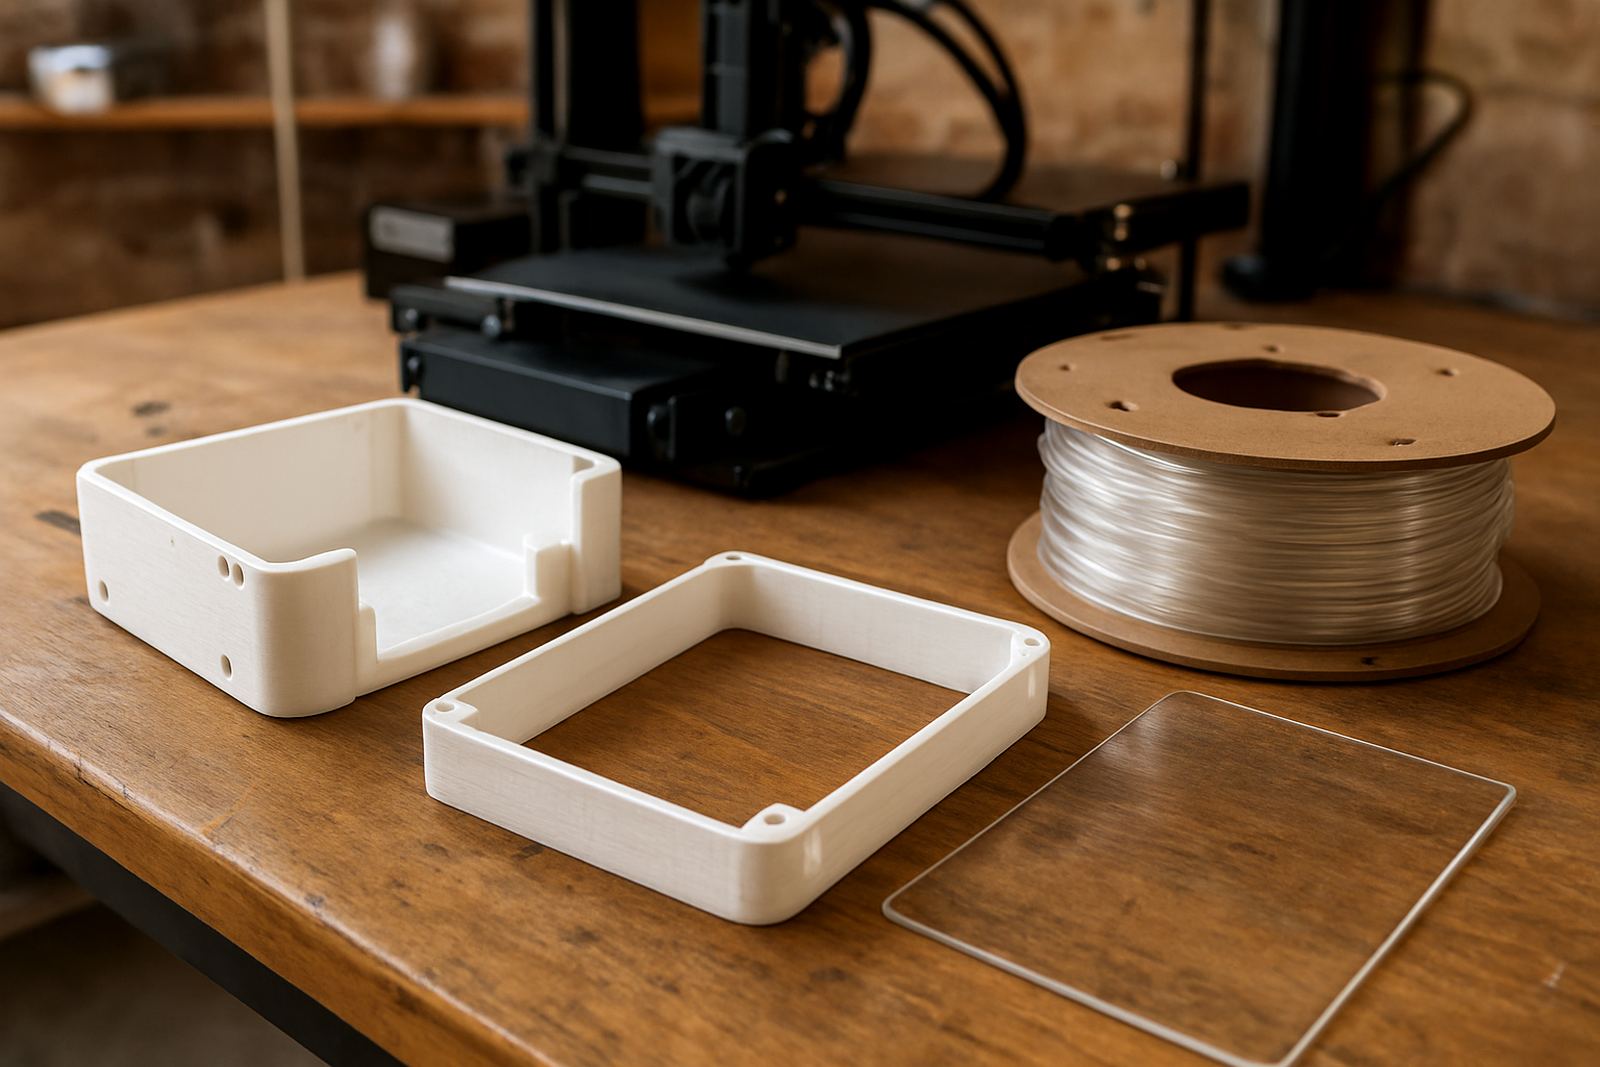
When you are building a prototype enclosure, the material needs to do more than look neat. It must accept screw holes, stand up to trial fitting, protect components during bench tests and still be easy to revise when a board changes or a cable route moves. PETG sheet is commonly used for flat panels, covers, internal guards and mounting plates, while PETG filament is useful for brackets, clips, spacers and print-to-fit housings.
For product development teams in Cape Town, Paarl, Bellville or Somerset West, PETG is a sensible middle ground between brittle plastics and expensive engineering materials. It handles day-to-day workshop use well, and it is less likely to crack than cheaper rigid sheet when a technician tightens a screw a bit too far. In coastal areas like Muizenberg, Blouberg and Strand, the material also copes well with humidity, which helps during long test cycles and storage between revisions.
Typical enclosure builds and equipment sets
Prototype enclosure jobs vary widely. Some are small controller boxes with a display cut-out and a few cable glands. Others are larger bench units for instrumentation, battery systems or industrial control panels. A practical set-up often includes a laser-cut or saw-cut outer shell, printed corner pieces, standoffs, fasteners, ventilation slots and a label panel for test notes.
- Single-board computer housings with removable lids
- Sensor boxes for indoor and outdoor trials
- Test rigs for electronics, lighting or automation
- Operator-facing control covers with viewing windows
- Small run enclosures for pilot projects and field trials
In many workshops, the mix is simple: PETG sheet for the body, PETG filament for the add-on parts, and standard fixings already on hand. That keeps the build flexible when the design changes after the first round of testing.
Planning the layout before you cut anything
Good enclosure planning starts with the inside, not the outside. Mark the board position, cable exit points, airflow path, switch access and service clearance before choosing the final panel size. If a component needs extra space for connectors or a heat sink, allow for that early. It saves material and prevents the common problem of a box that looks fine on paper but cannot be wired without forcing the lid off.
It also helps to decide which parts must be removable. For example, a base plate may need permanent fixings while a top cover should come off quickly for fault-finding. If the enclosure will travel between sites in Cape Town, Bellville, Parow or Stellenbosch, add a little extra room for foam, cable strain relief and protective corners. On jobs where the prototype will be opened often, job labelling and clear panel marking make a real difference during testing and handover.
- Measure the tallest component first, then add clearance for connectors
- Allow space for screws, tool access and panel overlap
- Keep vents away from dust paths and cable drips
- Plan for rework, because prototypes change often
Cutting, finishing and print options that save time
Sheet work for prototype enclosures usually benefits from straight cuts, custom sizing, panel cutting and hole marking. Where needed, edge deburring gives a cleaner finish and makes assembly easier, especially on repeated builds. If you are making several similar units, small batch cutting and strip cutting can reduce time spent measuring the same dimensions again and again.
PETG filament is useful when the design calls for printed clips, mounts or internal holders that would take too long to machine. It is also handy for revision work because a bracket can be reprinted quickly when a cable route changes. In practice, a mixed-material build often works best: sheet for structure, filament for detail parts, then a final test fit before the batch is repeated. Film left on can also help protect finished surfaces until the enclosure is ready for assembly.
Common mistakes we see on prototype enclosure jobs
The most common mistake is underestimating heat. Even a small device can warm up more than expected when a fan is blocked or the enclosure sits in direct sun. Another mistake is making the panel too tight around connectors, which turns a simple service job into a frustrating strip-down. People also forget about mounting hardware and add-ons such as feet, labels, or a display bezel, then wonder why the final assembly no longer fits the original sketch.
A few practical issues come up again and again:
- No allowance for internal wiring bends or connector depth
- Hole positions measured from the wrong edge
- Panels made before the final component layout is confirmed
- No plan for repeatability when the first prototype is approved
In Epping, where many jobs move quickly between workshop and courier, it helps to keep each set clearly labelled. That way the next revision is easier to match to the right customer, especially when several versions are in production at once.
Budget ranges for prototype enclosure work in Rand
Costs depend on size, thickness, quantity and how much finishing is needed. A small prototype enclosure using cut sheet and a few simple holes can often start from about R350 to R900 for a basic one-off, before courier. More involved builds with custom sizing, hole marking, deburring and repeat cuts can sit in the R1 200 to R3 500 range depending on the number of parts.
If you are building a pilot run, prices usually improve as the batch size rises. A short run of identical panels or covers is often more practical than paying for one-off manual work on every unit. For teams comparing options, it is worth looking at the full picture: material, cutting time, packing, courier and how much rework may be needed after the first test. A neat first revision can save a good bit later on.