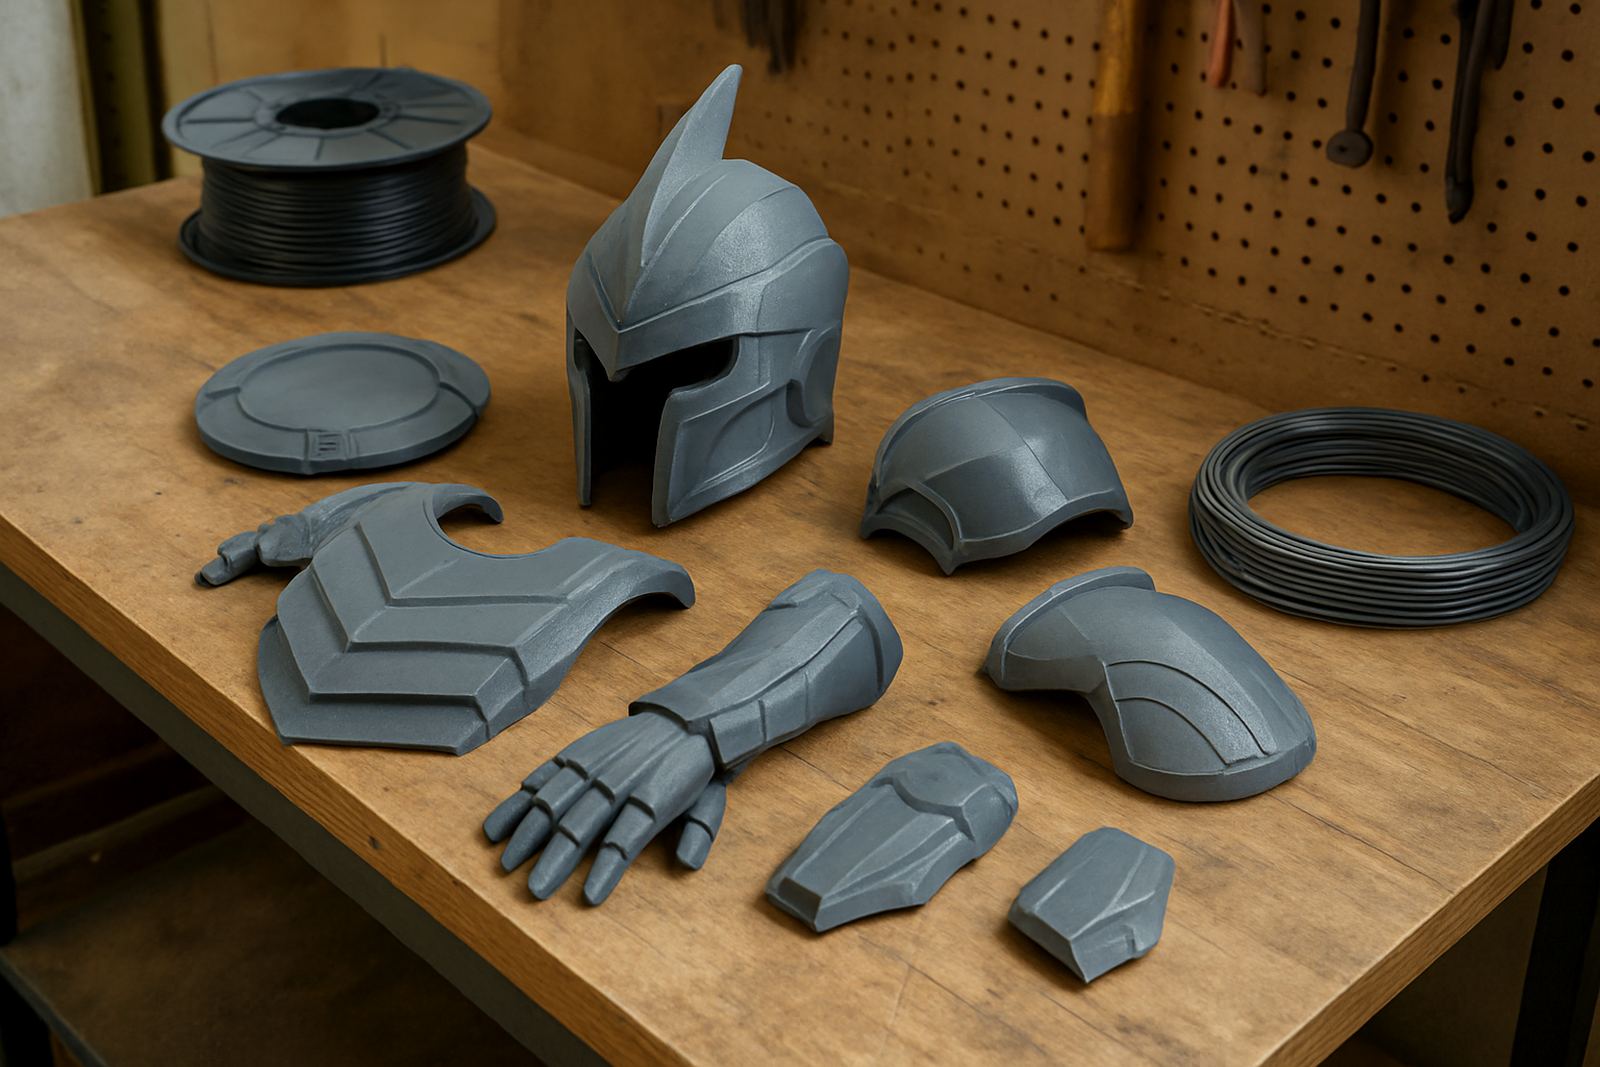
Why PETG works well for cosplay builds
For cosplay parts, PETG sits in a useful middle ground. It is tougher than many common hobby plastics, handles daily handling better, and gives a cleaner surface for sanding, filling and painting. That matters when you are making armour plates, helmet details, weapon components, display mounts or costume accessories that must look neat under bright event lights.
In Cape Town we see plenty of builds that have to cope with long travel, warm cars, coastal humidity and a fair bit of last-minute adjustment. PETG helps because it is less brittle than many alternatives and it keeps a stable form when the part is printed with the right settings. If you need sheets for vacuum forming, backing plates or template work, cut to size sheets also save time on the workshop floor.
Typical parts makers ask for
Cosplay clients usually come in with a mix of decorative pieces and load-bearing parts. Some are building for a convention, others for stage use, photo shoots or fan groups and need repeatable parts in a small batch. We help with both sheet supply and filament supply, so the same project can use flat panels, printed details and mounting tabs without switching materials halfway through.
- Armour panels, chest plates and shoulder pieces
- Helmet trims, visors, chin guards and greebles
- Prop housings, blade sections and handle details
- Accessory brackets, clips and internal supports
- Display stands, templates and backing plates
When a client needs a few extra parts for spares or repairs, small batch cutting and batch labelling make it easier to keep track of the job. That is useful when you are building in stages and need the same size piece twice, not almost the same.
How to plan a clean layout before cutting or printing
Good cosplay work starts with a clean plan. Measure the body or the mannequin first, then work out where the movement points are. A shoulder plate that looks right on a table can pinch badly once it is strapped on. Leave room for foam lining, straps, magnets or fasteners, especially around the chest, elbows, knees and neck.
For sheet work, it helps to nest the shapes on paper first and check grain direction if you are combining the sheet with bending or forming. For printed pieces, keep wall thickness and fastening points in mind from the start. If you plan to paint the final part, a slightly larger surface area around joins makes filling and sanding easier and gives a more even finish.
- Work from the wearer’s measurements, not a standard size
- Allow extra for foam, straps and fasteners
- Separate cosmetic faces from hidden support sections
- Mark left and right parts clearly before cutting
- Build test sections before committing to the full set
Common mistakes that cost time and money
One of the biggest mistakes is choosing a material only because it prints quickly. Cosplay parts get handled, packed, worn and often adjusted with heat or filler. If the part is too brittle, it can crack at a mounting hole or chip at the edge after one event. Another common issue is ignoring post-processing. Even a neat print usually needs some cleanup, and a rough cut edge can show through paint if it is not deburred properly.
People also underestimate transport. A helmet crest or layered armour piece can flex in a courier box and arrive with a flat spot if it is not packed well. That is why we offer courier packing and job labelling for ordered sets. It keeps the pieces grouped and easier to unpack when the deadline is tight. For local collection in Epping, Montague Gardens, Bellville, Parow, Somerset West, Paarl, Stellenbosch and Claremont, it also helps when projects are split across more than one visit.
Budget ranges for cosplay projects in Rand
Budgets vary a lot because cosplay parts can mean one small prop or a full wearable set with multiple plates, trims and spares. A simple detail pack might only need a few cut pieces and a small roll of filament. A larger armour build can use several sheets, multiple print spools and more time for finishing. Most clients find it easier to budget in stages rather than trying to price the whole costume at once.
As a guide, small detail jobs often start from about R350 to R900 in material value, depending on size and finish requirements. Mid-range props and partial armour sets can run between R1 200 and R3 500. Larger builds with repeated parts, thick sheet sections or multiple test runs can move higher. If you are working to a convention deadline, add room for spares because a second set of parts is cheaper than a rushed re-make.
- Small trims, inserts and accessories: R350 to R900
- Single prop or partial armour: R1 200 to R3 500
- Large costume set or repeat batch: R3 500 and up
- Courier costs should be added for nationwide delivery
How we support makers from Cape Town to the rest of South Africa
Our Epping base is set up for practical work, from straight cuts and panel cutting to strip cutting, hole marking and edge deburring. That helps makers who need sheet parts ready for fitting, not just a raw panel to sort out later. We also do custom sizing, small batch cutting and large batch cutting, so whether you need one prototype or a run of repeated costume pieces the order can be handled in a tidy way.
For filament orders, nationwide courier delivery is the normal route. That suits makers outside Cape Town just as well as local customers who are between workshop runs. If you are planning a cosplay build, send through the measurements and intended use on the enquiry form on our contact page. We can then help with material advice and practical sizing so the parts are easier to finish, paint and wear.