
When model-makers choose PETG for presentation pieces
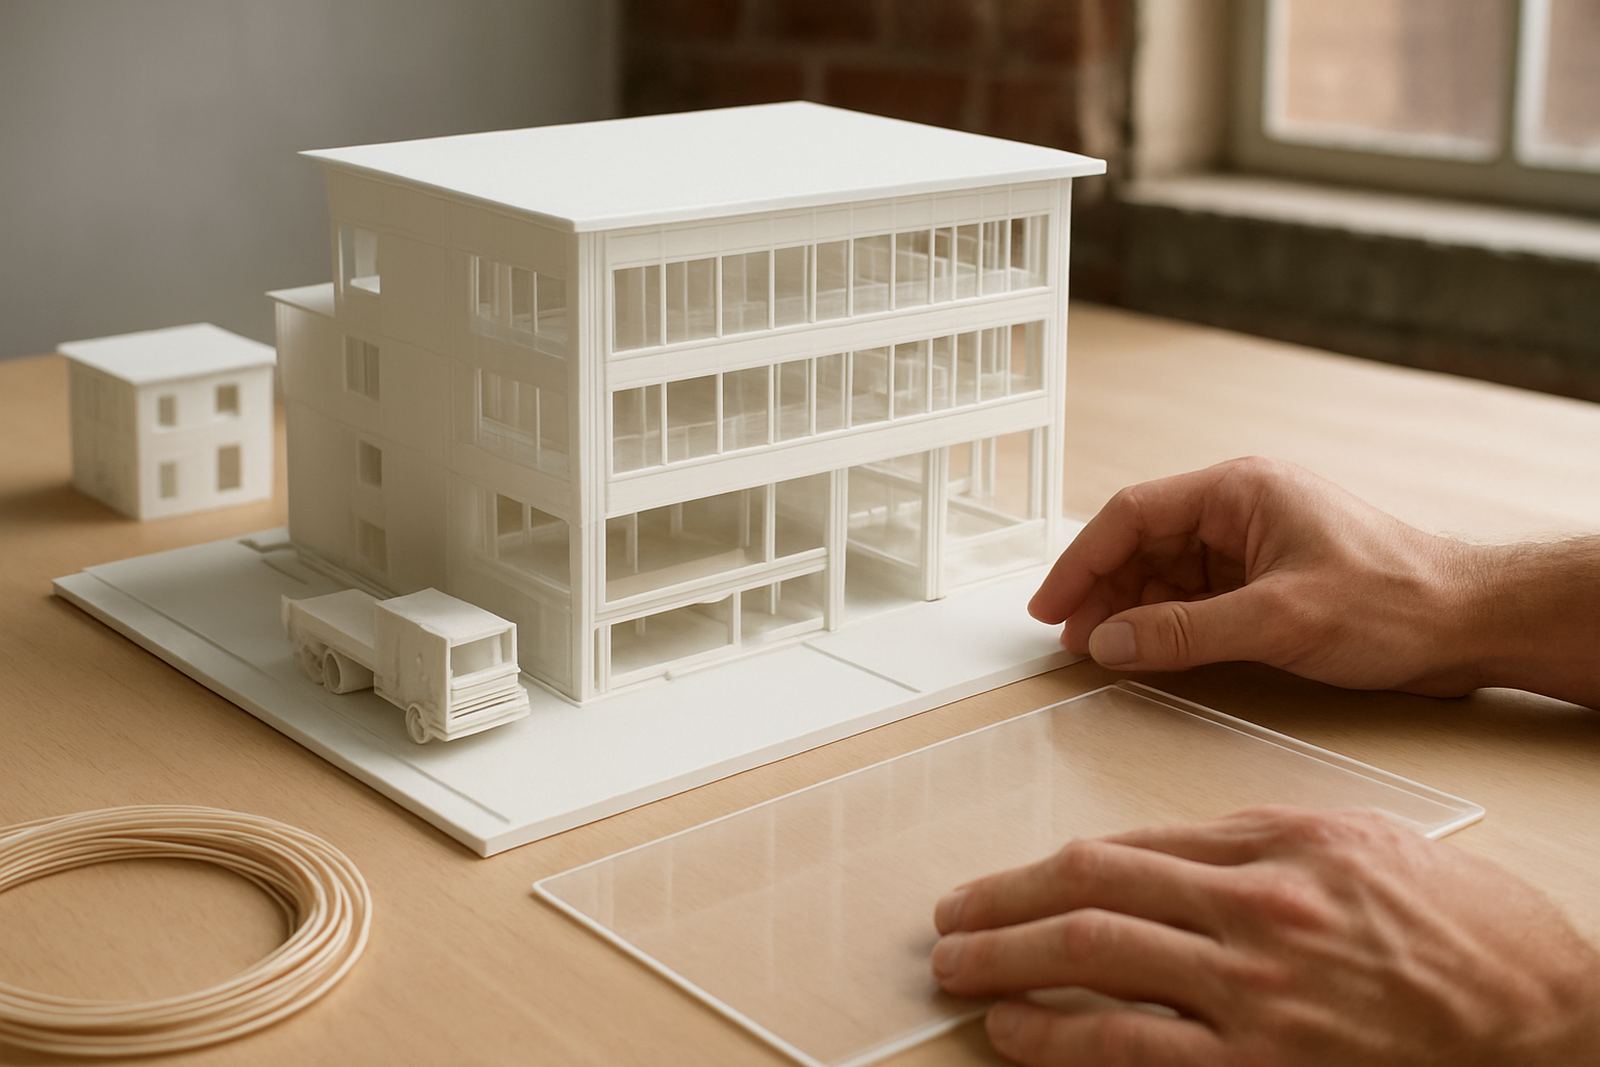
Architectural models often need a mix of clarity, strength, and easy handling. PETG suits window panels, balustrades, light boxes, massing blocks, site surrounds, and internal layers where acrylic can be too brittle or foamboard too soft. It is a practical choice for studios in Cape Town, Stellenbosch, Paarl, and Somerset West that build competition models, client presentation sets, and tender display pieces.
For teams working under deadline, PETG gives you a material that is easier to manage than glassy brittle plastics and holds up better when the model must be moved between the studio, site meeting, and boardroom. If the model is travelling to a venue in the City Bowl or being couriered to Gauteng, that extra toughness matters. It can take handling better and still keep a clean visual line.
Many model shops use PETG where they need clear parts that stay presentable under office lighting and natural light. The material also suits load-shedding planning because a cut sheet or printed part can be finished on a schedule without requiring special curing or complicated aftercare.
Typical equipment set for a model-making workshop
Most architectural model teams use a mix of hand tools and bench equipment. PETG works well in that kind of setup because it can be cut, trimmed, marked, and formed without a difficult learning curve. For sheet work, a flat table, straight edge, scoring tools, and a clean cutting surface are usually the starting point. For printed parts, a 3D printer with a heated bed and careful first-layer control is important, especially in Cape Town where coastal humidity can affect storage and print consistency.
- Laser cutter or CNC cutter for precise panels and repeated parts
- Fine saws and scoring tools for manual finishing
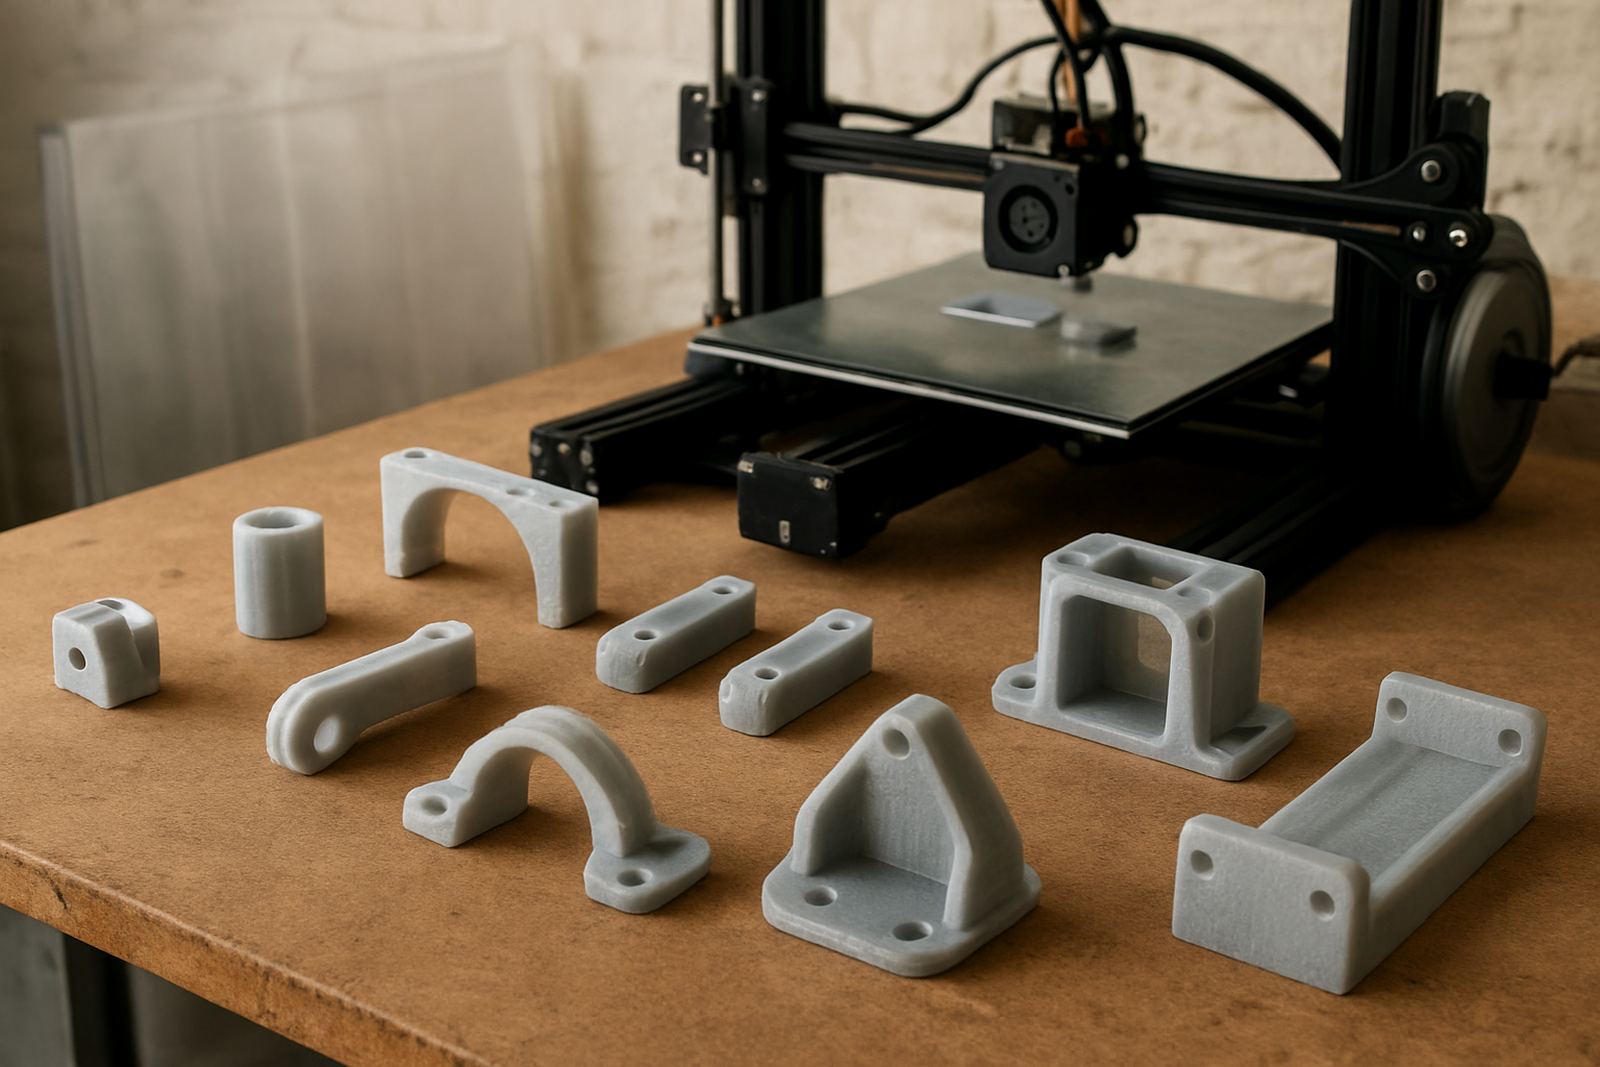
- 3D printer for bases, figures, façade details, and custom fittings
- Sandpaper, edge files, and deburring tools for neat edges
- Clamps, masking tape, and alignment squares for assembly
If the model includes lighting, PETG can be useful around diffused sections and protected channels, but the team should always test heat and fit first. For printed parts, filament should be stored dry and away from direct sun. In a busy workshop in Epping or Bellville, that usually means sealed storage and sensible stock rotation so the filament does not absorb moisture and create rough surfaces or stringing.
Planning the layout before cutting starts
Good architectural models begin with layout planning, not cutting. Before the first sheet is marked, the team should confirm the scale, the final viewing angle, and which components must stay clear, translucent, or fully opaque. That saves time and reduces waste. A 1:200 model needs a different approach to edge thickness and detail than a 1:50 exhibition piece, so the cut list should be matched to the scale from the start.
We often see teams work out the model in zones: base, structure, glazing, landscape, and removable feature elements. That keeps each section manageable and helps with courier packing too. If the model is being delivered to Claremont or Somerset West, panels should be labelled by zone and kept in sequence so the builder or presenter can assemble everything quickly on site. Small changes in order can save hours later.
For sheet cutting, it helps to leave a little allowance for finishing and test-fit each connection before committing to the full batch. Straight cuts are fine for many parts, but where the design includes repeated fins, roof strips, or framing members, consistent strip cutting and panel cutting keep the model tidy. A missing 1 mm on several parts can turn into a loose fit at assembly.
Common mistakes that waste time and material
Architectural model work is unforgiving when the measurements drift. One of the most common mistakes is cutting everything straight off the drawing without checking kerf, tool width, or the final assembly tolerance. PETG sheet is forgiving, but not forgiving enough to rescue poor planning. Another issue is forgetting to account for glue choice. Some adhesives leave marks or haze on clear areas, which is a problem when the whole point of the model is to present clean lines.
Another mistake is trying to force a tight fit on parts that should slide together. That leads to stress marks, warped corners, and cracked edges later on. If the model includes thin elements, it is better to plan a small clearance and use proper support during assembly. Teams should also avoid mixing storage methods, because stacked panels without protection can pick up scratches. Film left on during transport can help, but only if the pieces are labelled and the film is removed at the right stage.
- Over-tight joints that crack during final assembly
- Unlabelled parts that get mixed up after cutting
- Poor storage that causes scratches on clear pieces
- Ignoring moisture control for filament in humid conditions
- Using the wrong adhesive on visible surfaces
For presentations in a coastal environment, dust and salt in the air can also spoil the finish if parts are left uncovered too long. A covered packing box and clean handling gloves make a real difference.
Budget ranges for small, medium, and high-detail models
Budget depends on sheet size, thickness, the number of parts, and whether you need straight cuts only or more involved batch work. For a small study model or a few clear inserts, teams often spend in the region of R350 to R1 200 on material and basic cutting. That covers simple pieces, smaller offcuts, or a short run of repeat parts.
For a medium presentation model with multiple panels, feature components, and some 3D-printed details, budgets often sit between R1 500 and R4 500. This range usually suits a project that needs custom sizing, labelled part sets, and careful packing for collection or courier delivery. If the job includes large batch cutting, hole marking, or edge deburring, allow extra for labour and setup.
High-detail presentation models, competition entries, or client display sets can run from R5 000 to R15 000 or more depending on scale and complexity. That kind of work may include several sheets, print runs, strip cutting, panel cutting, and repeat testing. It is worth budgeting for a spare sheet or backup filament spool because deadlines in design offices do not move, even when a prototype fails on the first attempt.
For teams based in Epping or nearby areas such as Montague Gardens, Parow, and Bellville, collection can reduce transport cost. For deliveries to other parts of South Africa, courier packing should be included in the budget so the model arrives ready for assembly and not with chipped corners or loose sections.
How to order the right mix of sheet and filament
The best results come from matching the material to the model, not the other way round. If the project needs clear glazing, PETG sheet is usually the first choice. If it needs custom connectors, base fixtures, or small repeat components, filament is useful alongside the sheet work. Many teams use both in the same job to keep the model consistent while saving time on hand fabrication.
When sending an enquiry, it helps to include the scale, target deadline, preferred finish, and whether the parts are for collection or courier. If you need small batch cutting for a one-off pitch, say so. If you are building several models for a municipal review or developer presentation, note the number of copies and the acceptable tolerance. That makes it easier to advise on material quantity and price.
- State the model scale and final size
- List clear, translucent, and opaque parts separately
- Say whether you need film left on for protection
- Specify collection area or nationwide courier delivery
- Include any edge finishing or marking requirements
For architectural work, the aim is simple: clean lines, reliable fit, and materials that behave well from the first cut to the final handover. PETG helps keep that process practical and predictable.